ahrex's Github work
...that's worth showing to the world
This project is maintained by ahrex
arm64 Arch Linux
Prerequisites
Either build your own arm64 Arch ISO or download a pre-made image.
UTM configuration
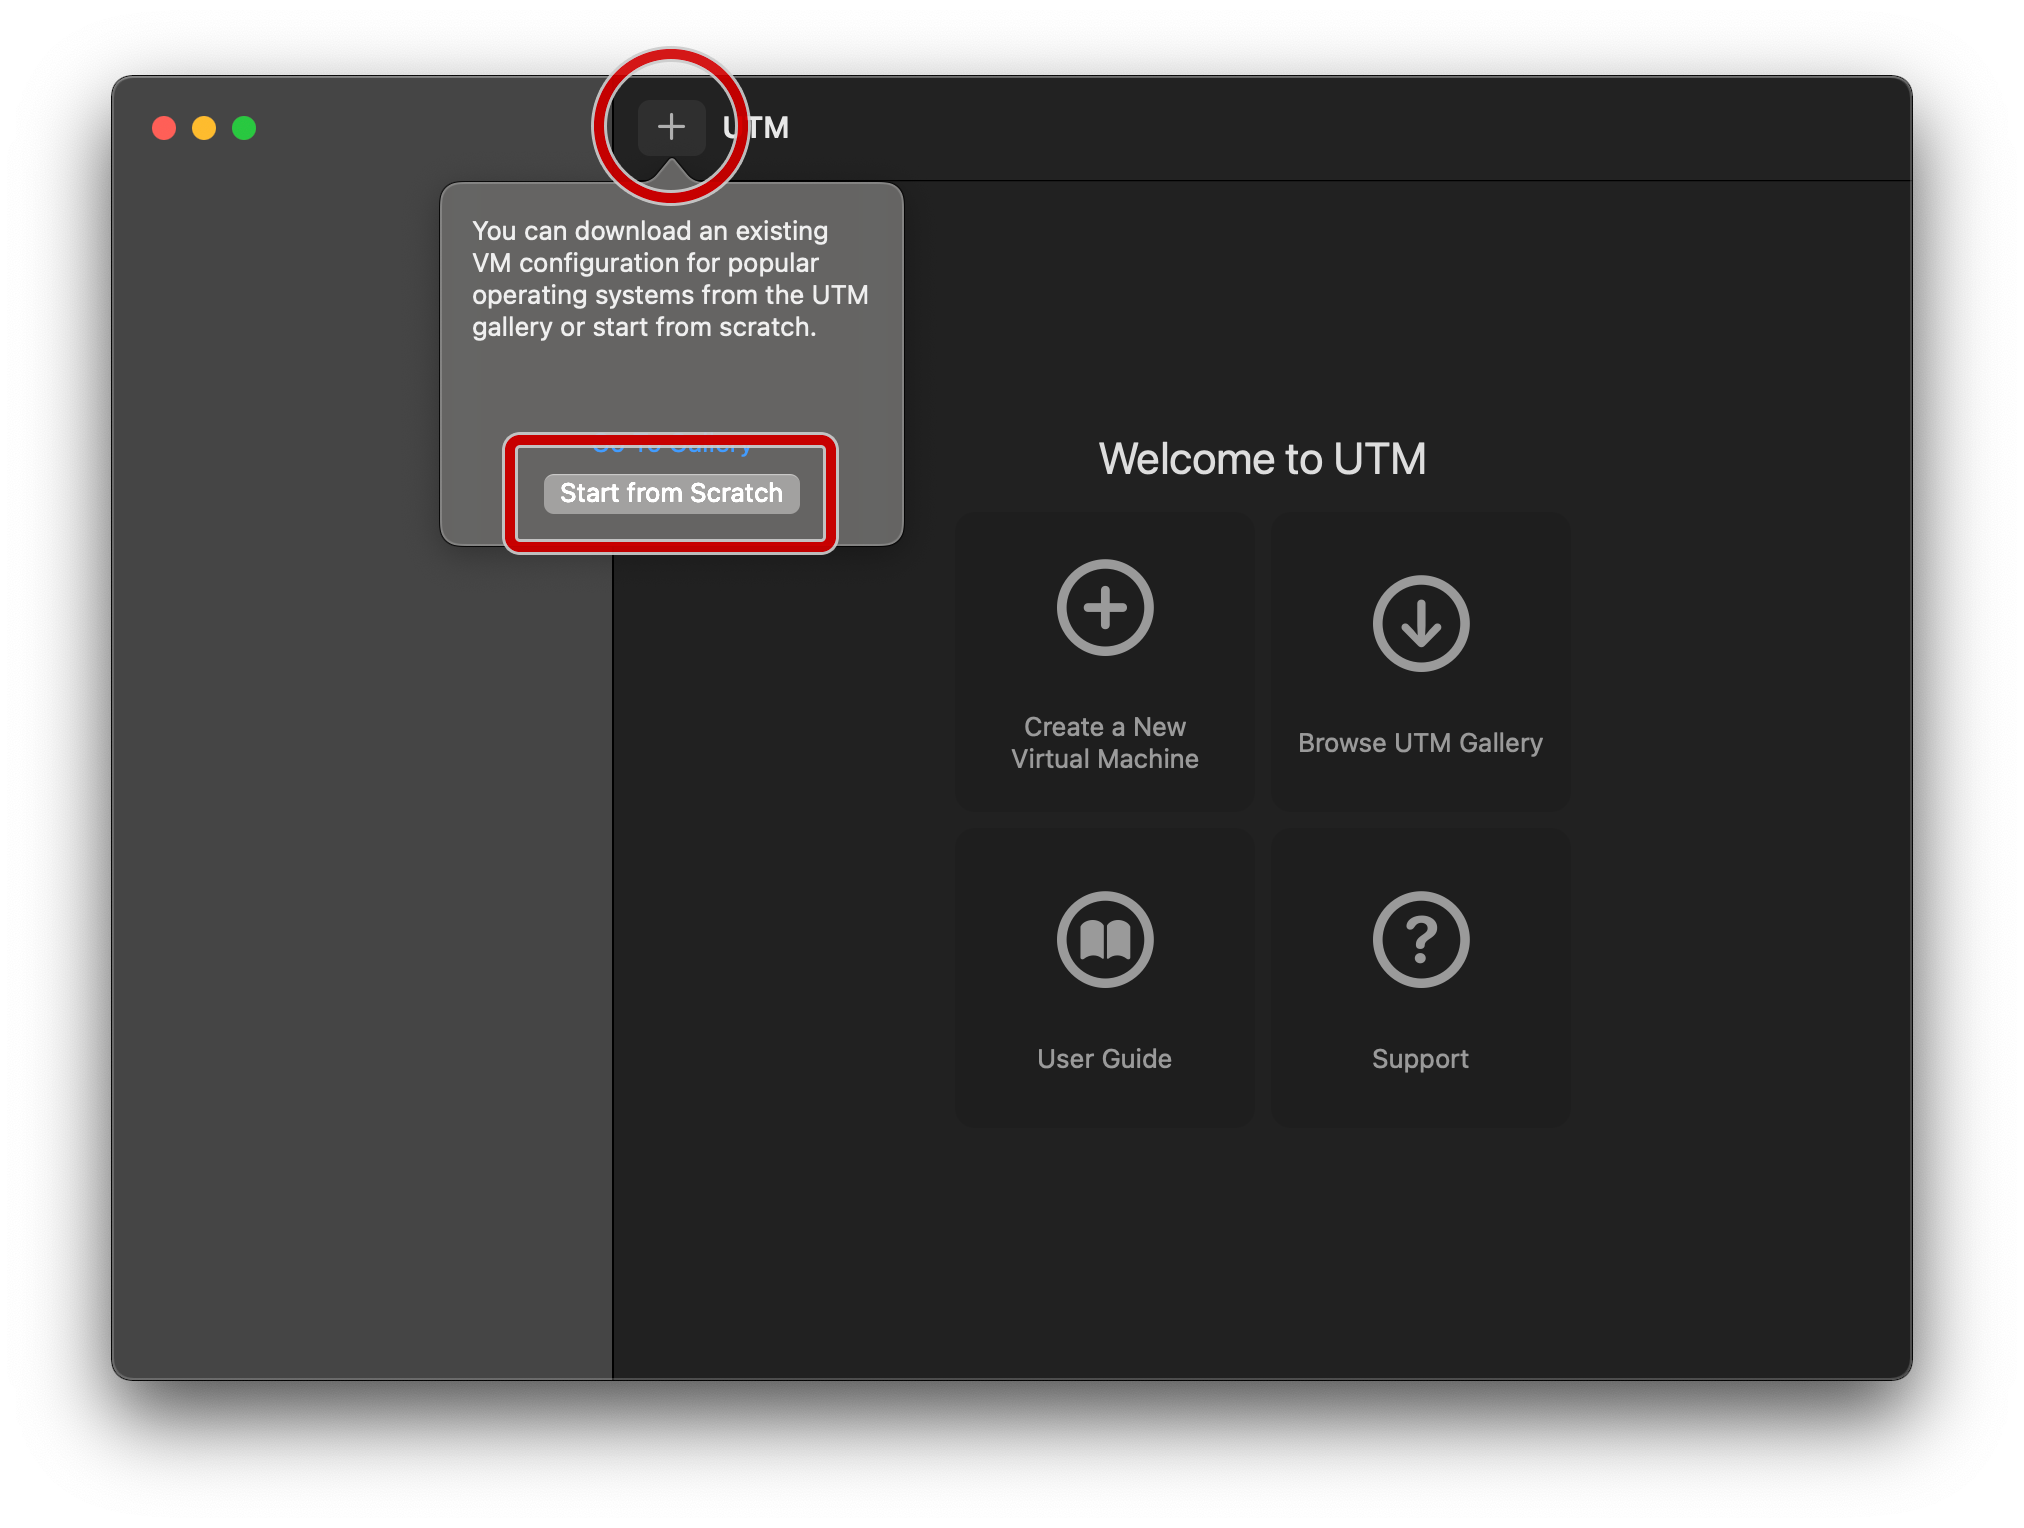
Launch UTM, and tap on the + symbol, followed by the “Start from Scratch” box:
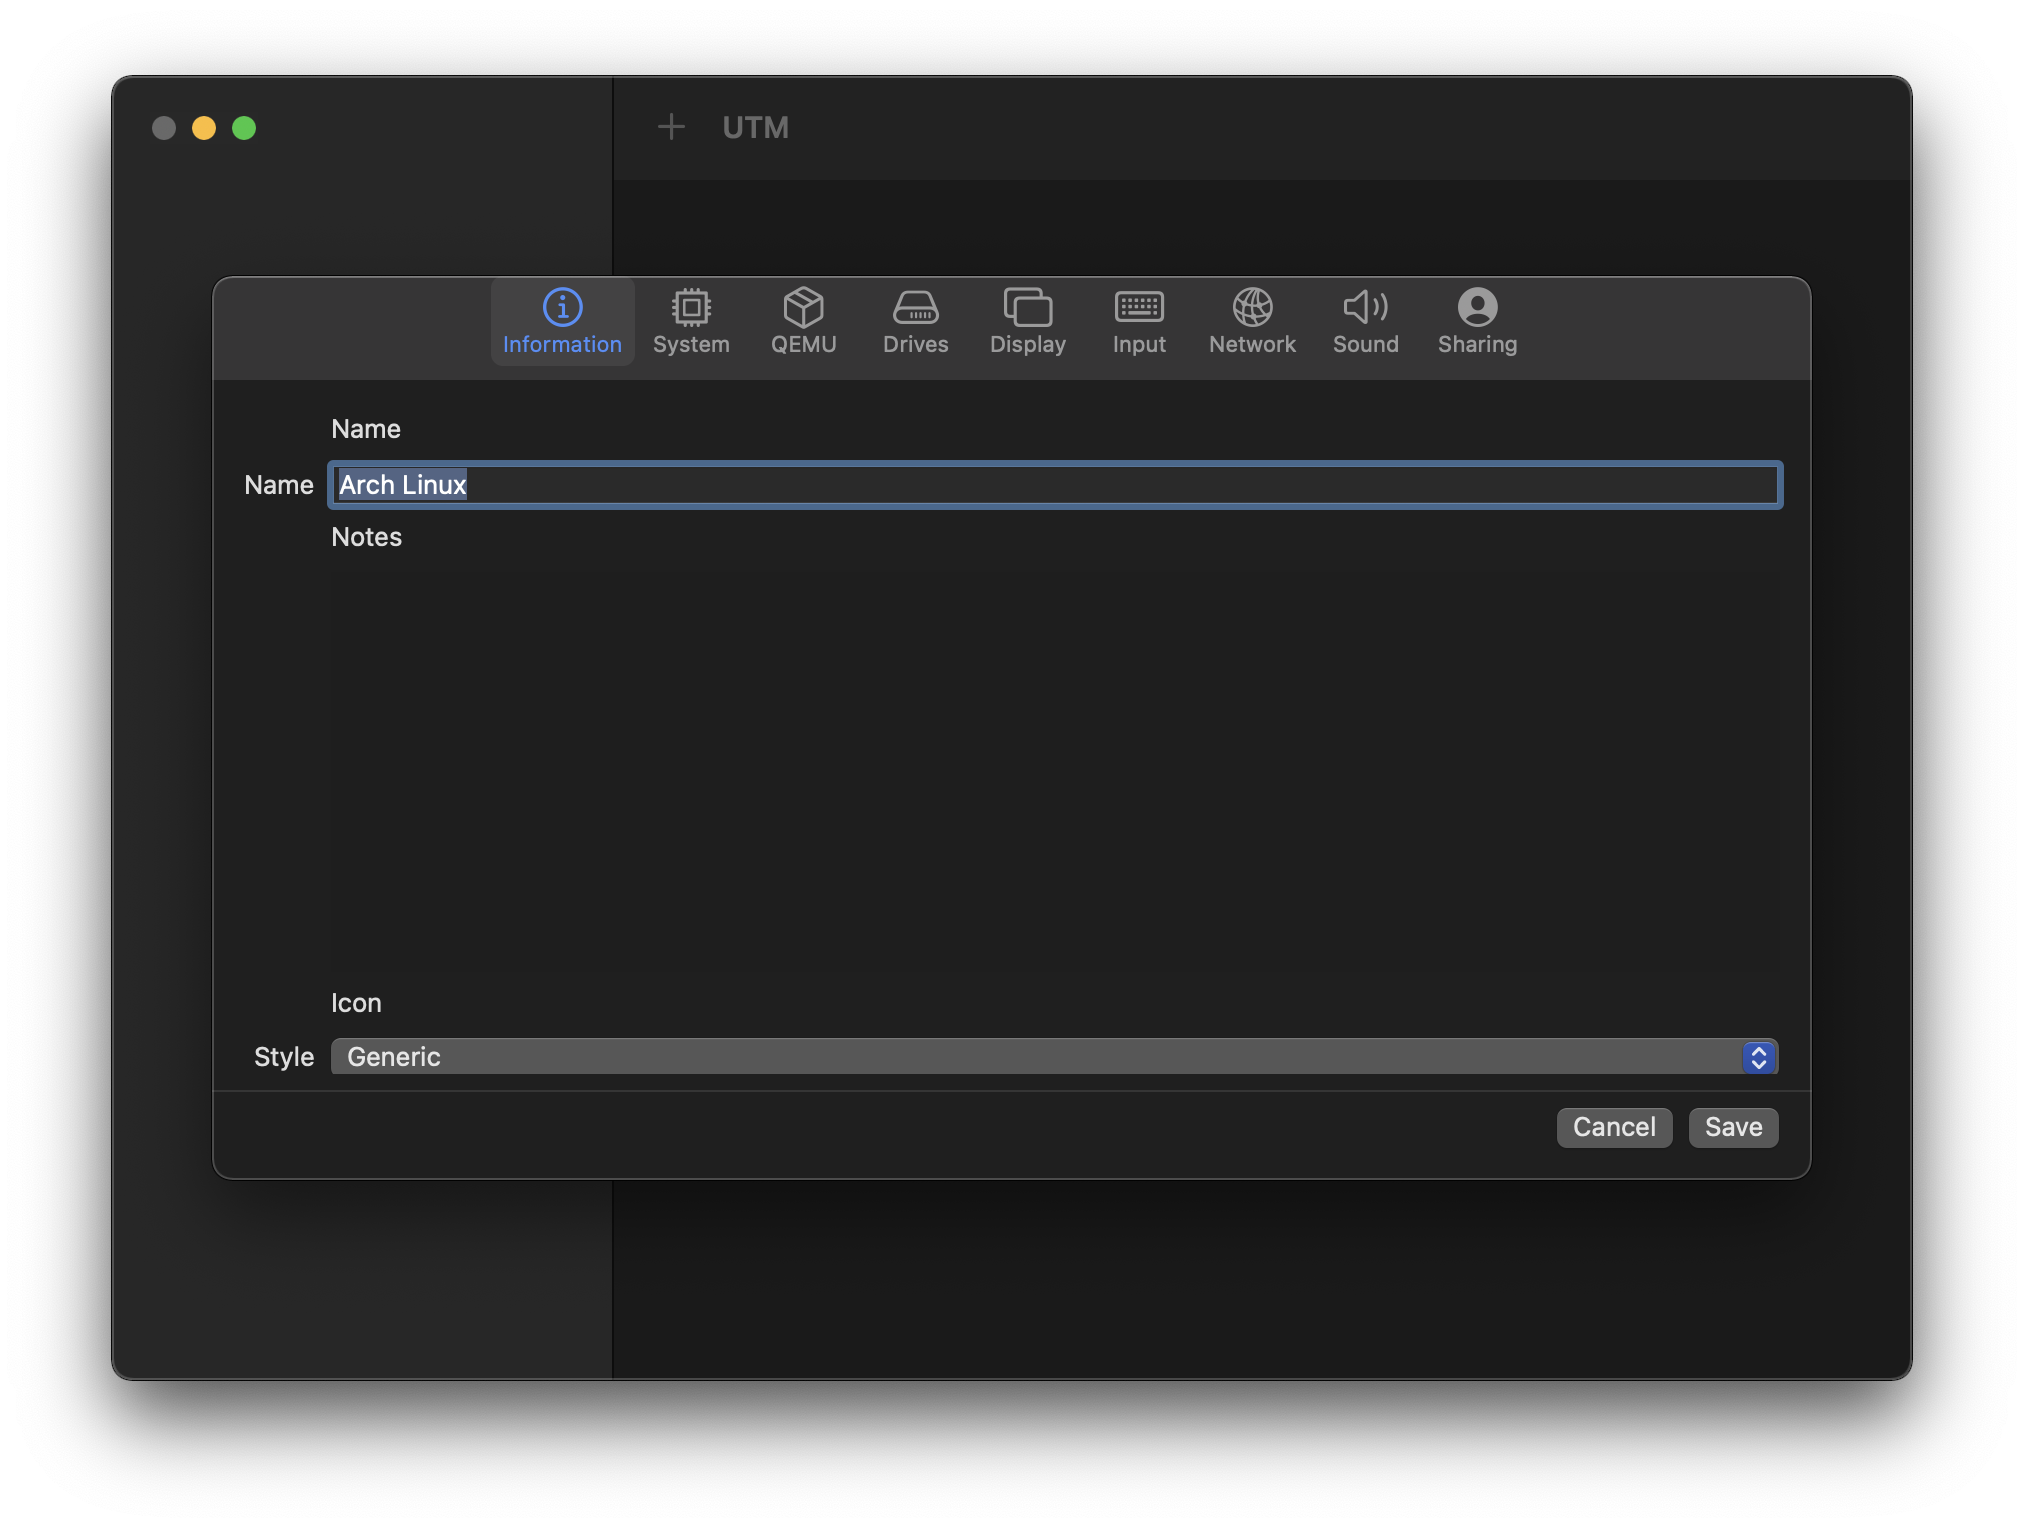
On the “Information” tab, specify a name.
Optional: specify the style as “Operating System”, scroll down, and click on the monitor icon to bring up your icon of choice.
![]()
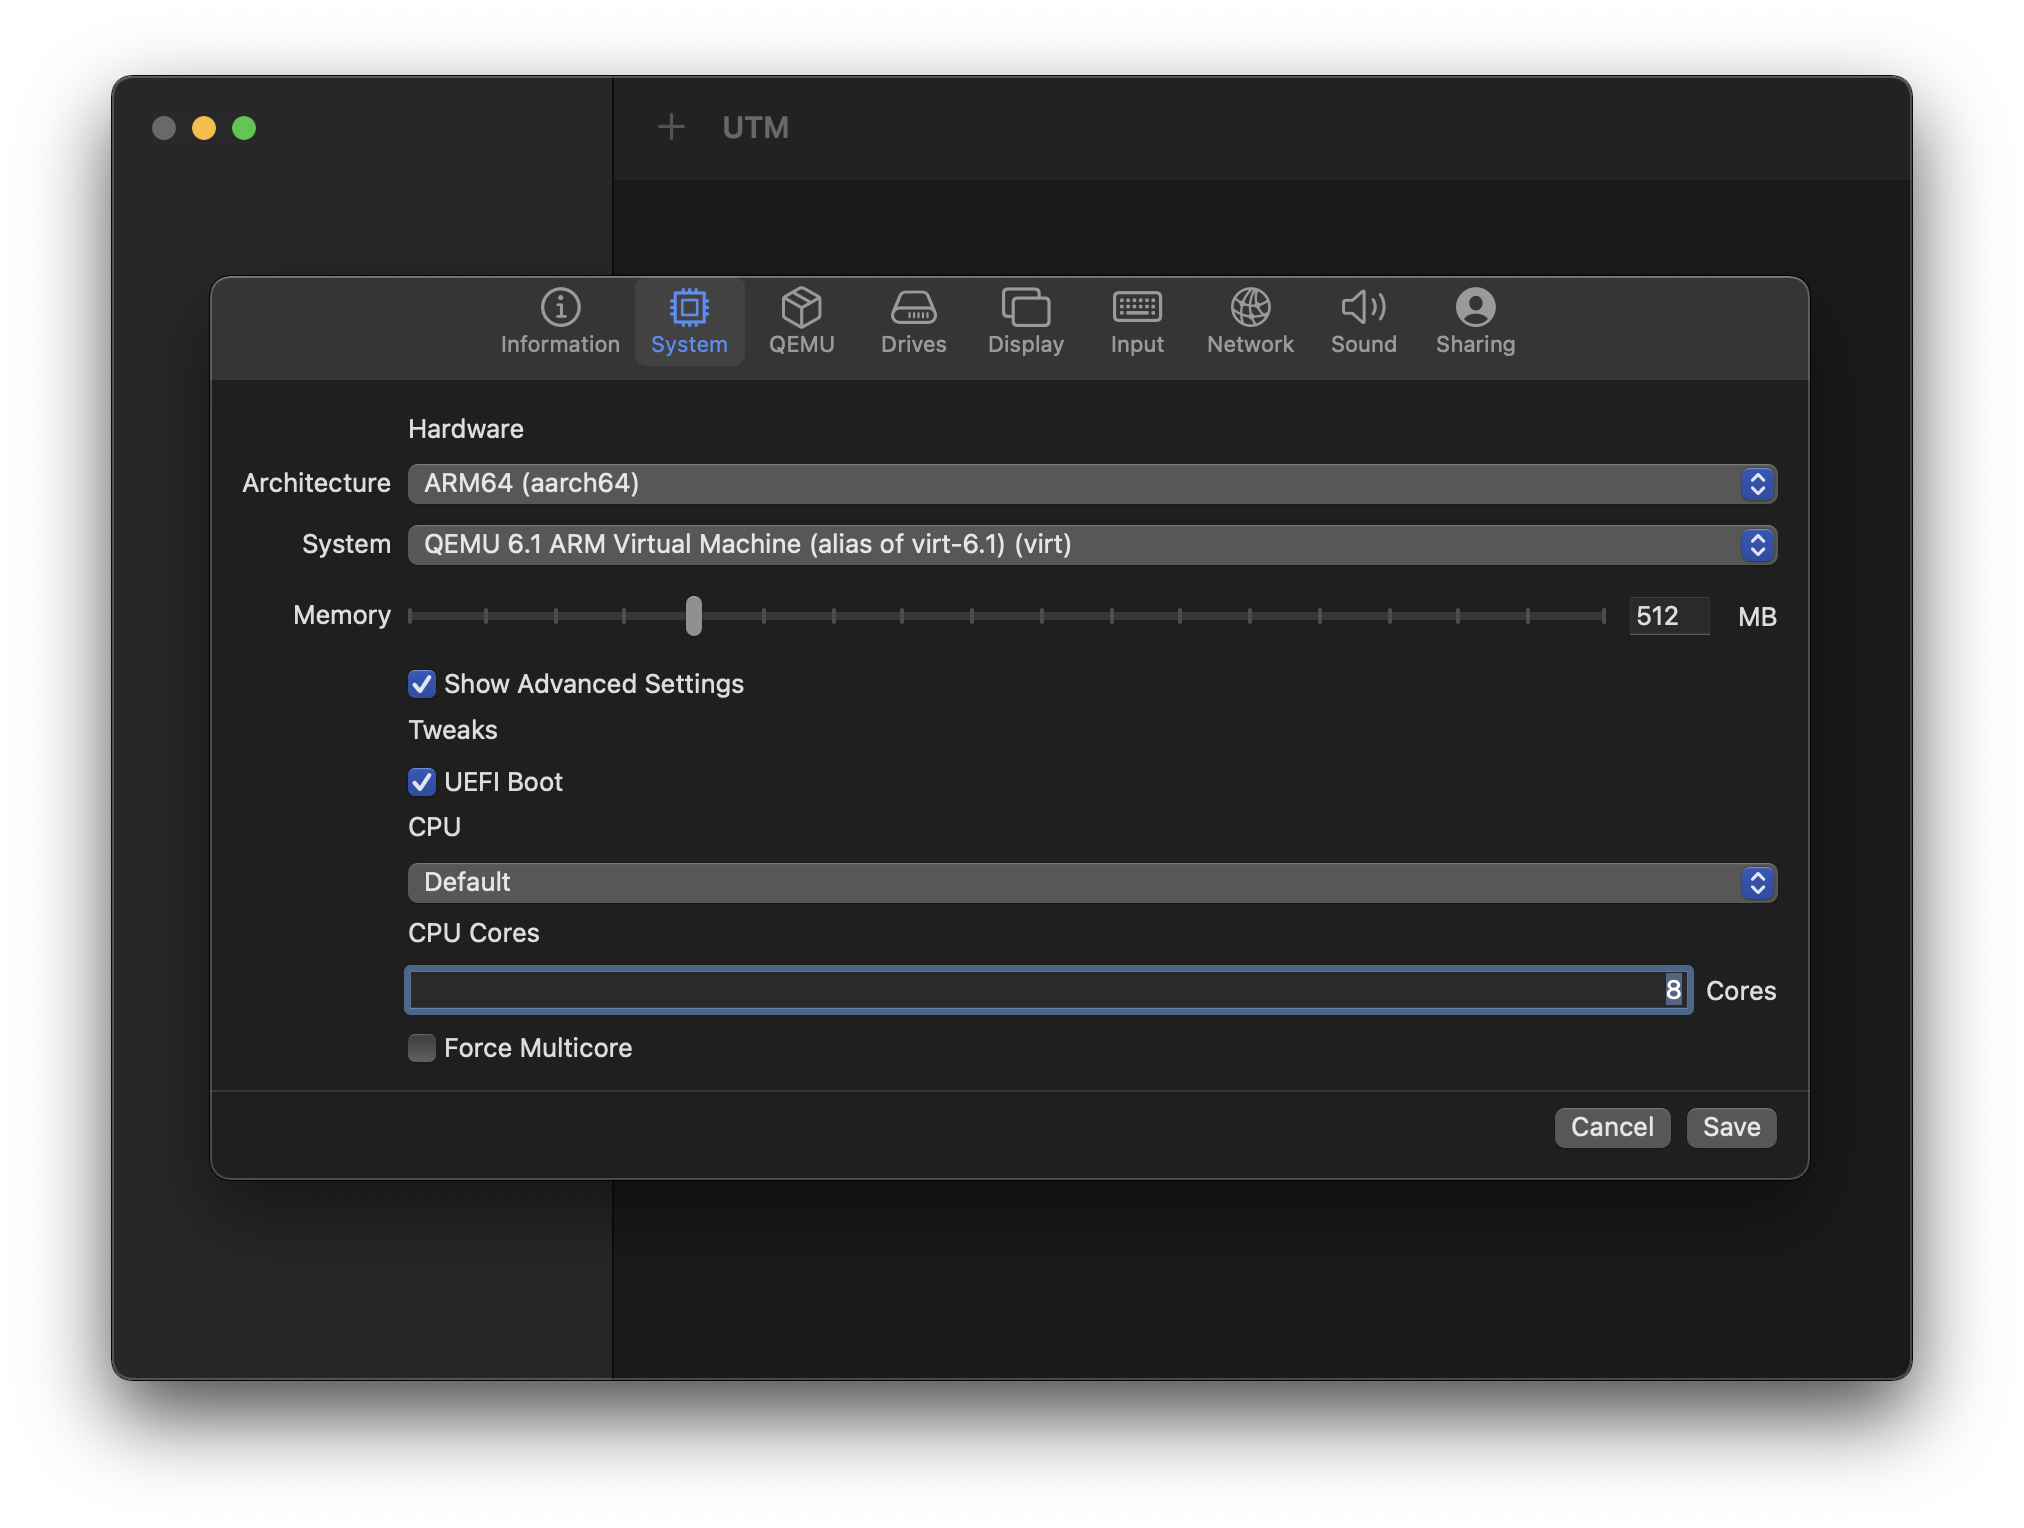
On the “System” tab, change the following options from their defaults:
| Item name | Item value | Comment |
|---|---|---|
| Architecture | ARM64 (aarch64) | |
| Show Advanced Settings | ☑️ | |
| CPU | Default | |
| CPU Cores | 8 | will vary based on your physical hardware, e.g. maybe the M1 Max can go up to 10 |
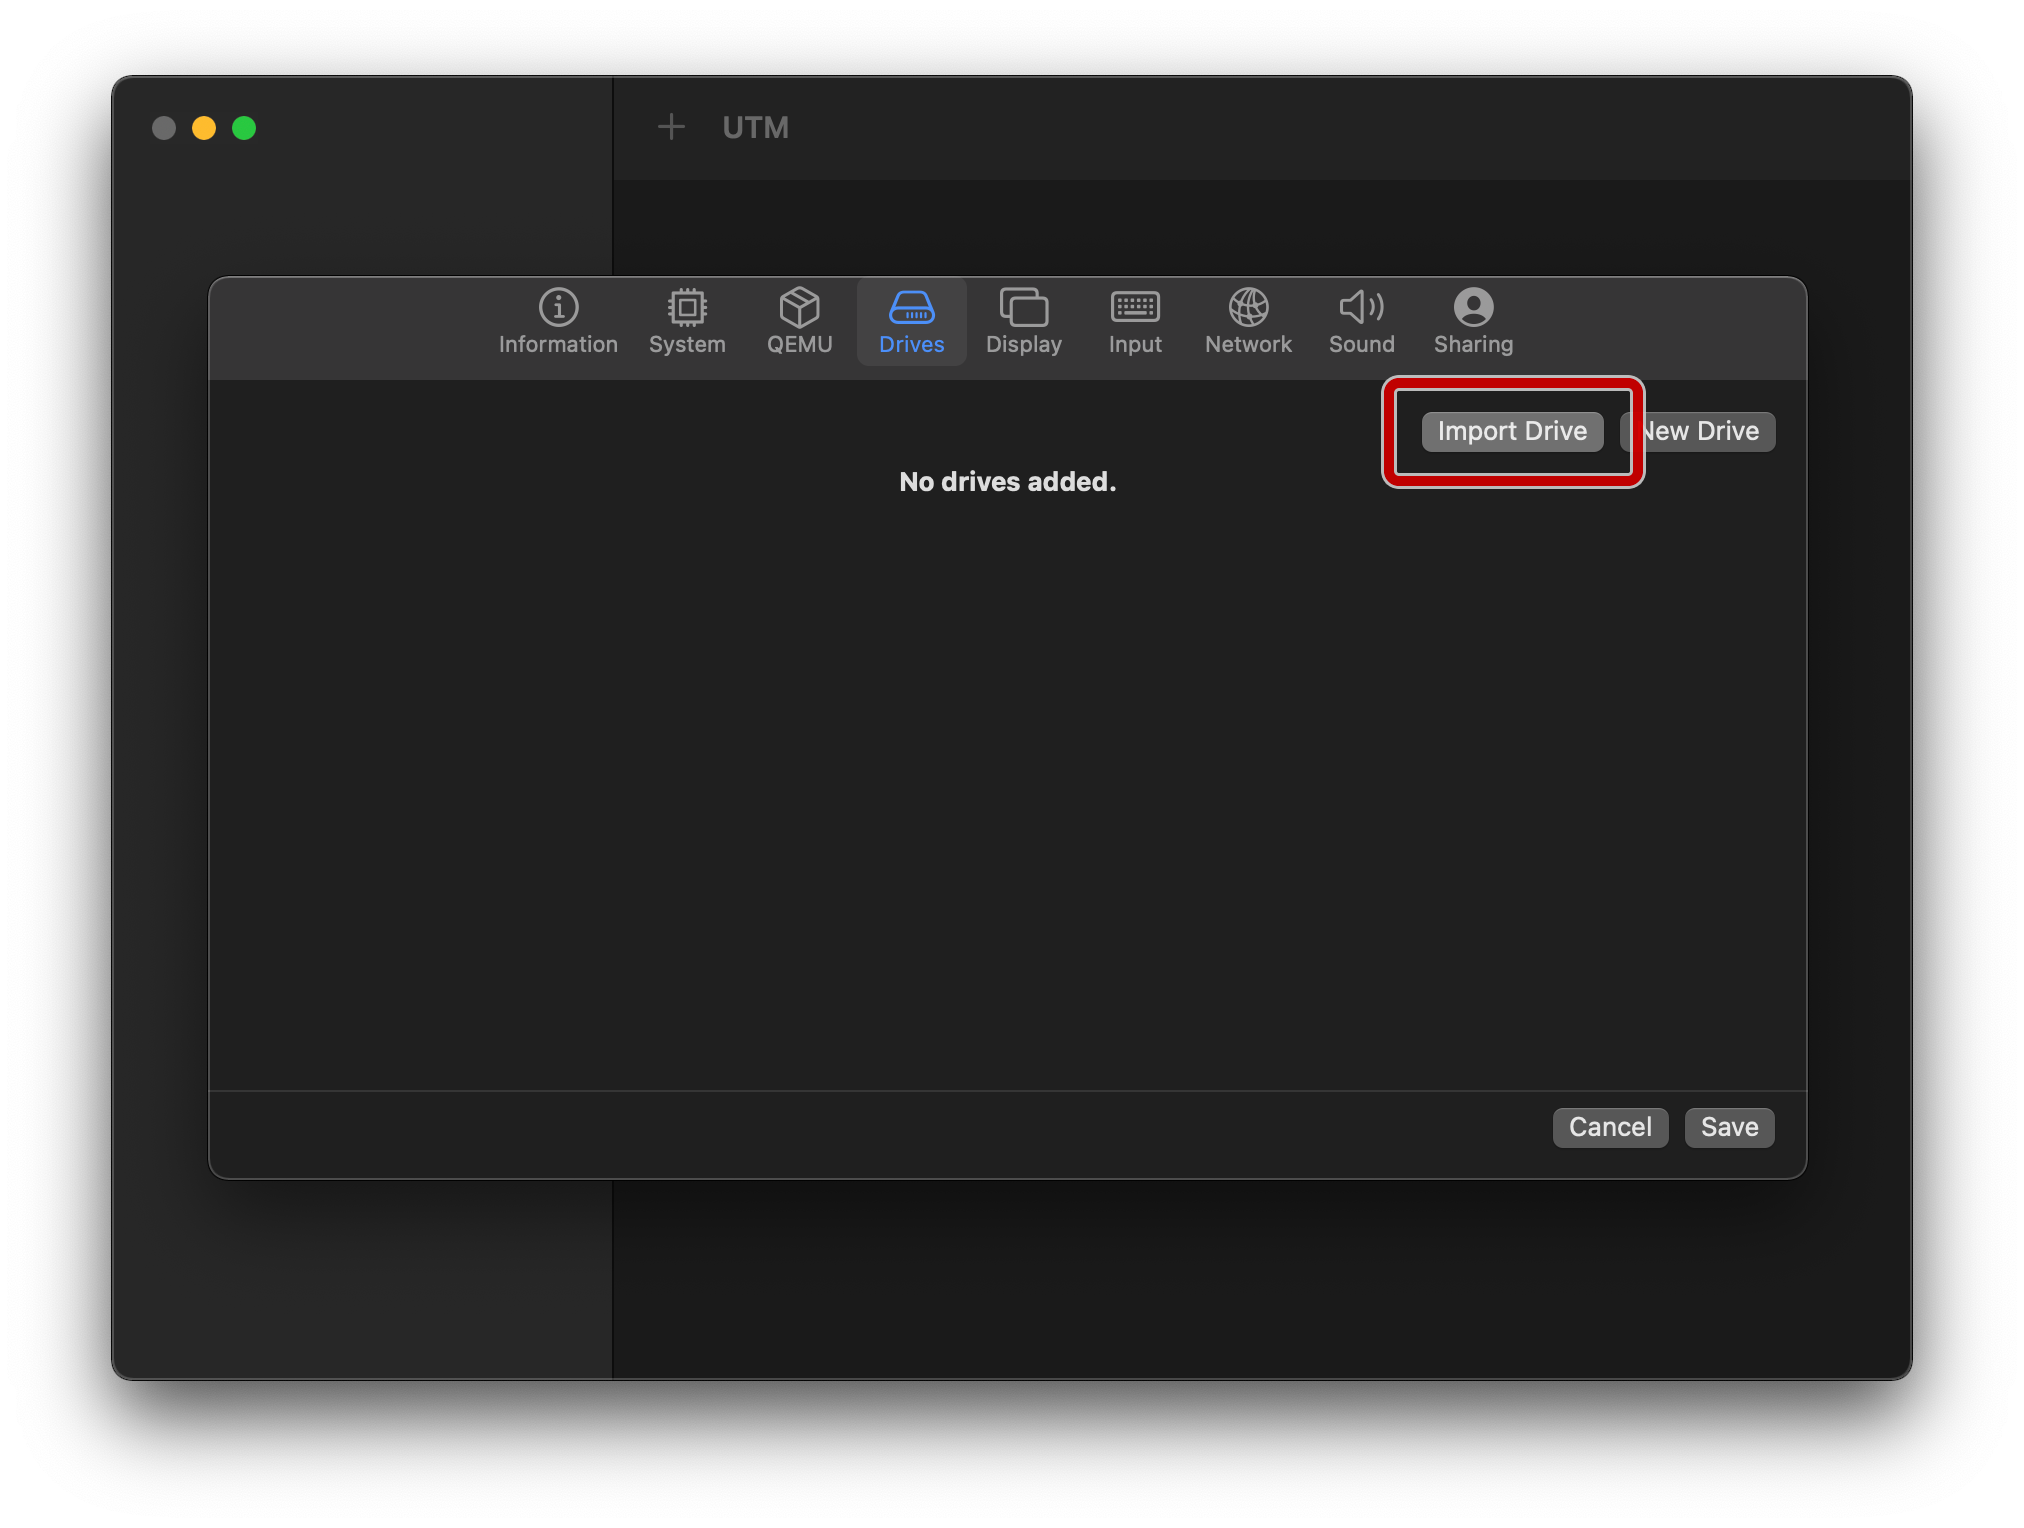
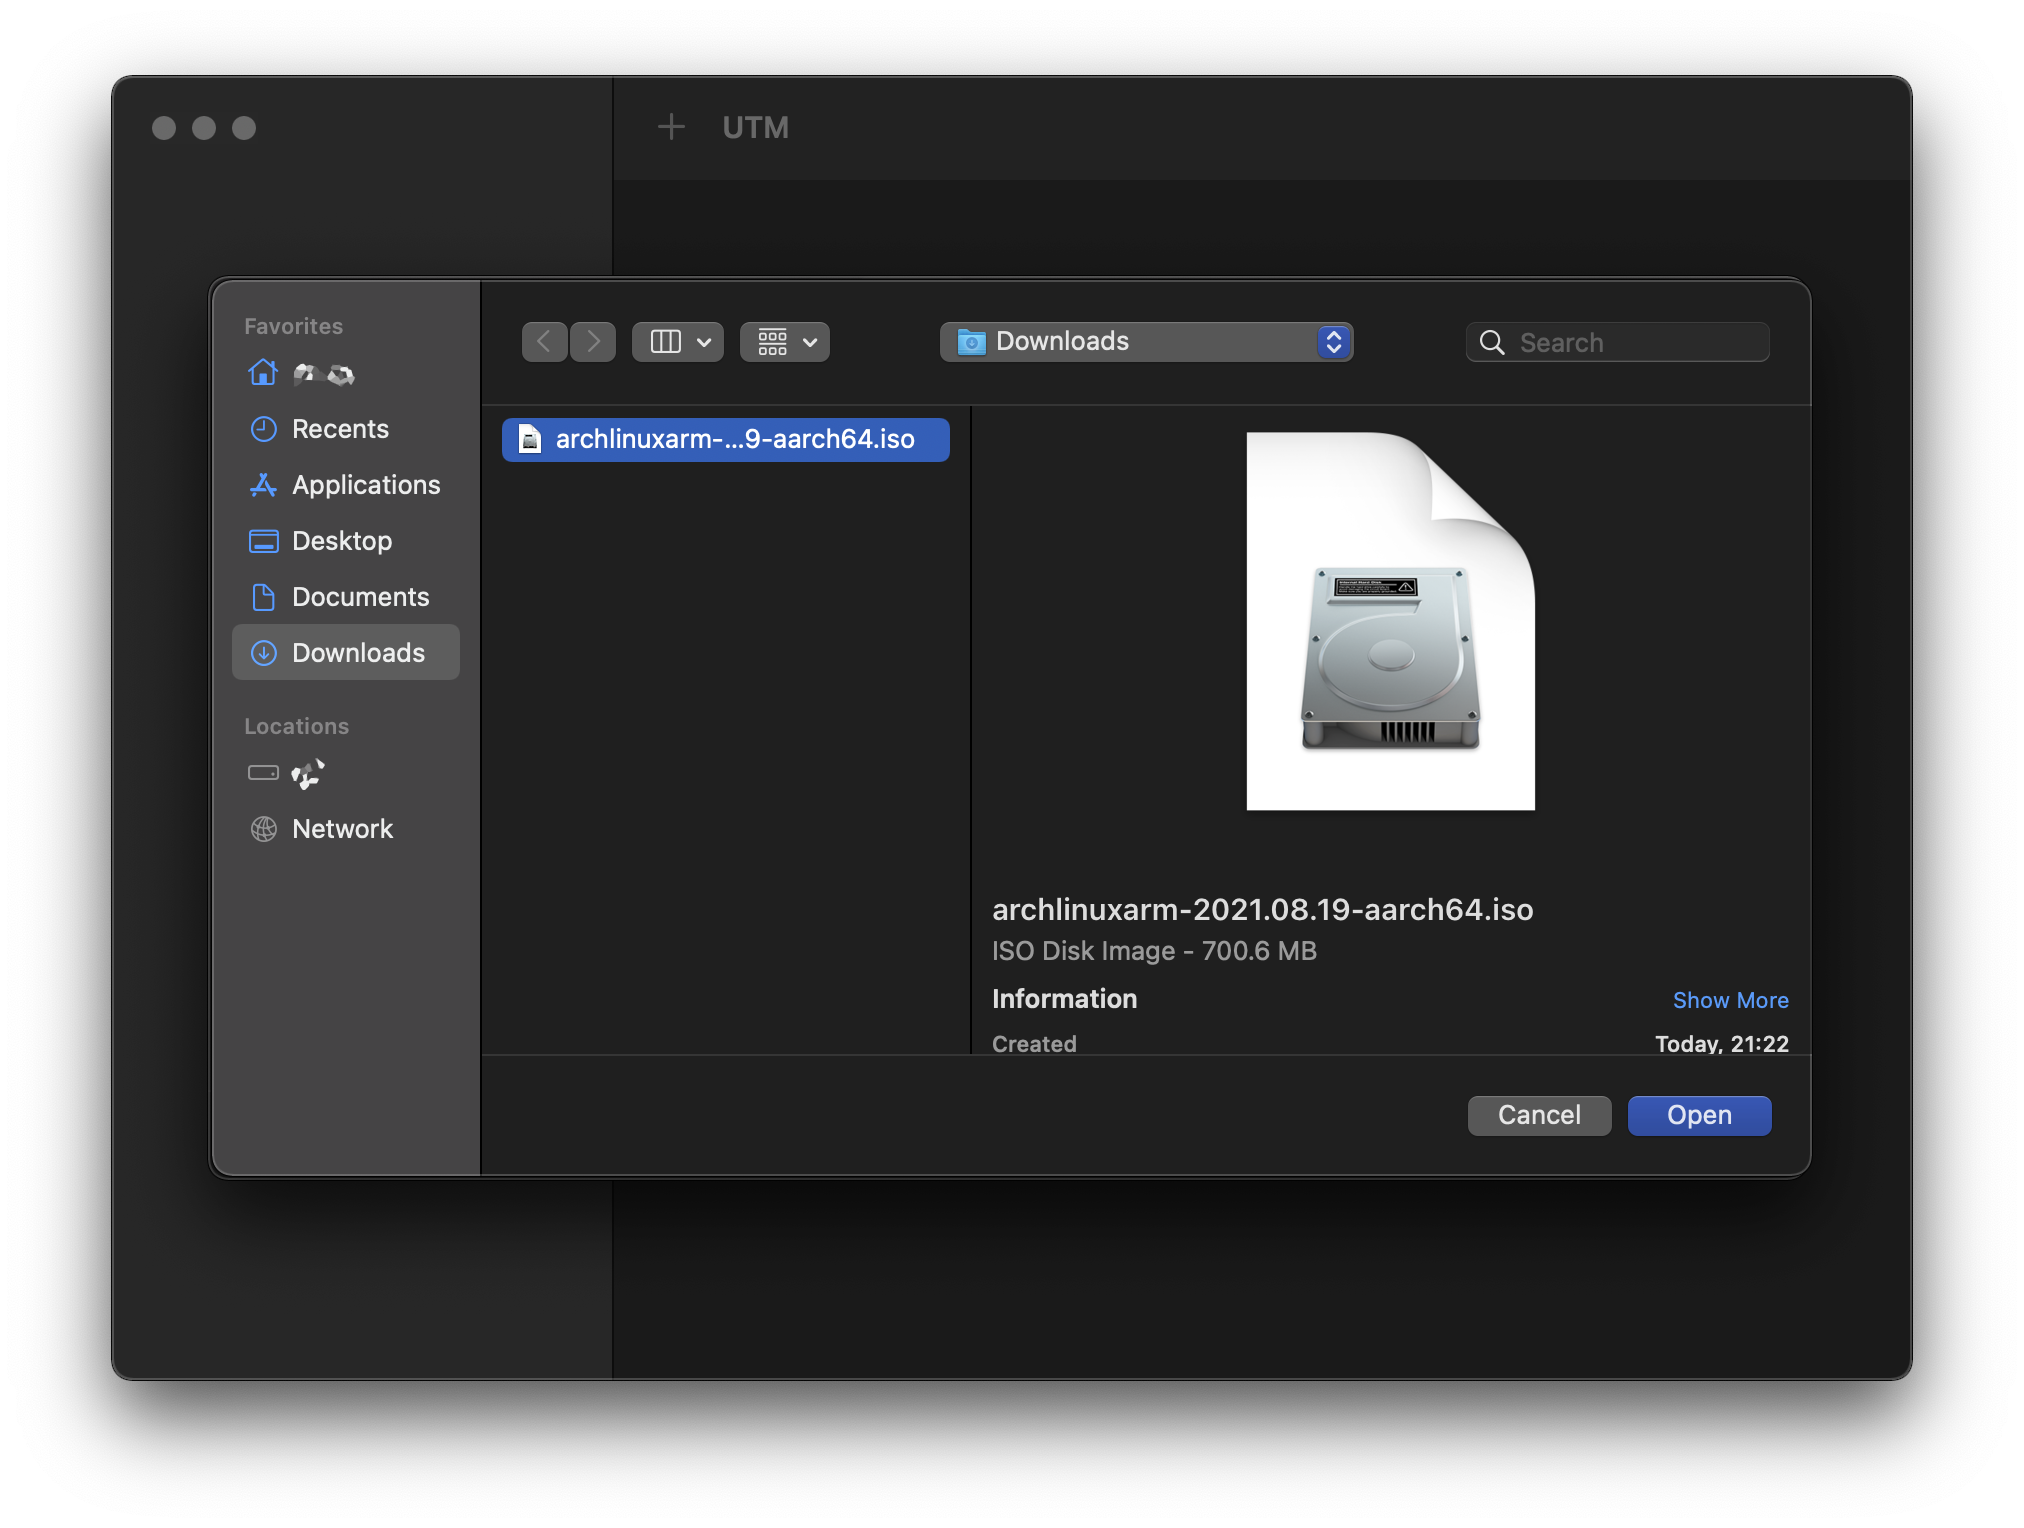
On the “Drives” tab, mount the previous ISO by tapping “Import Drive”, and navigating to it:
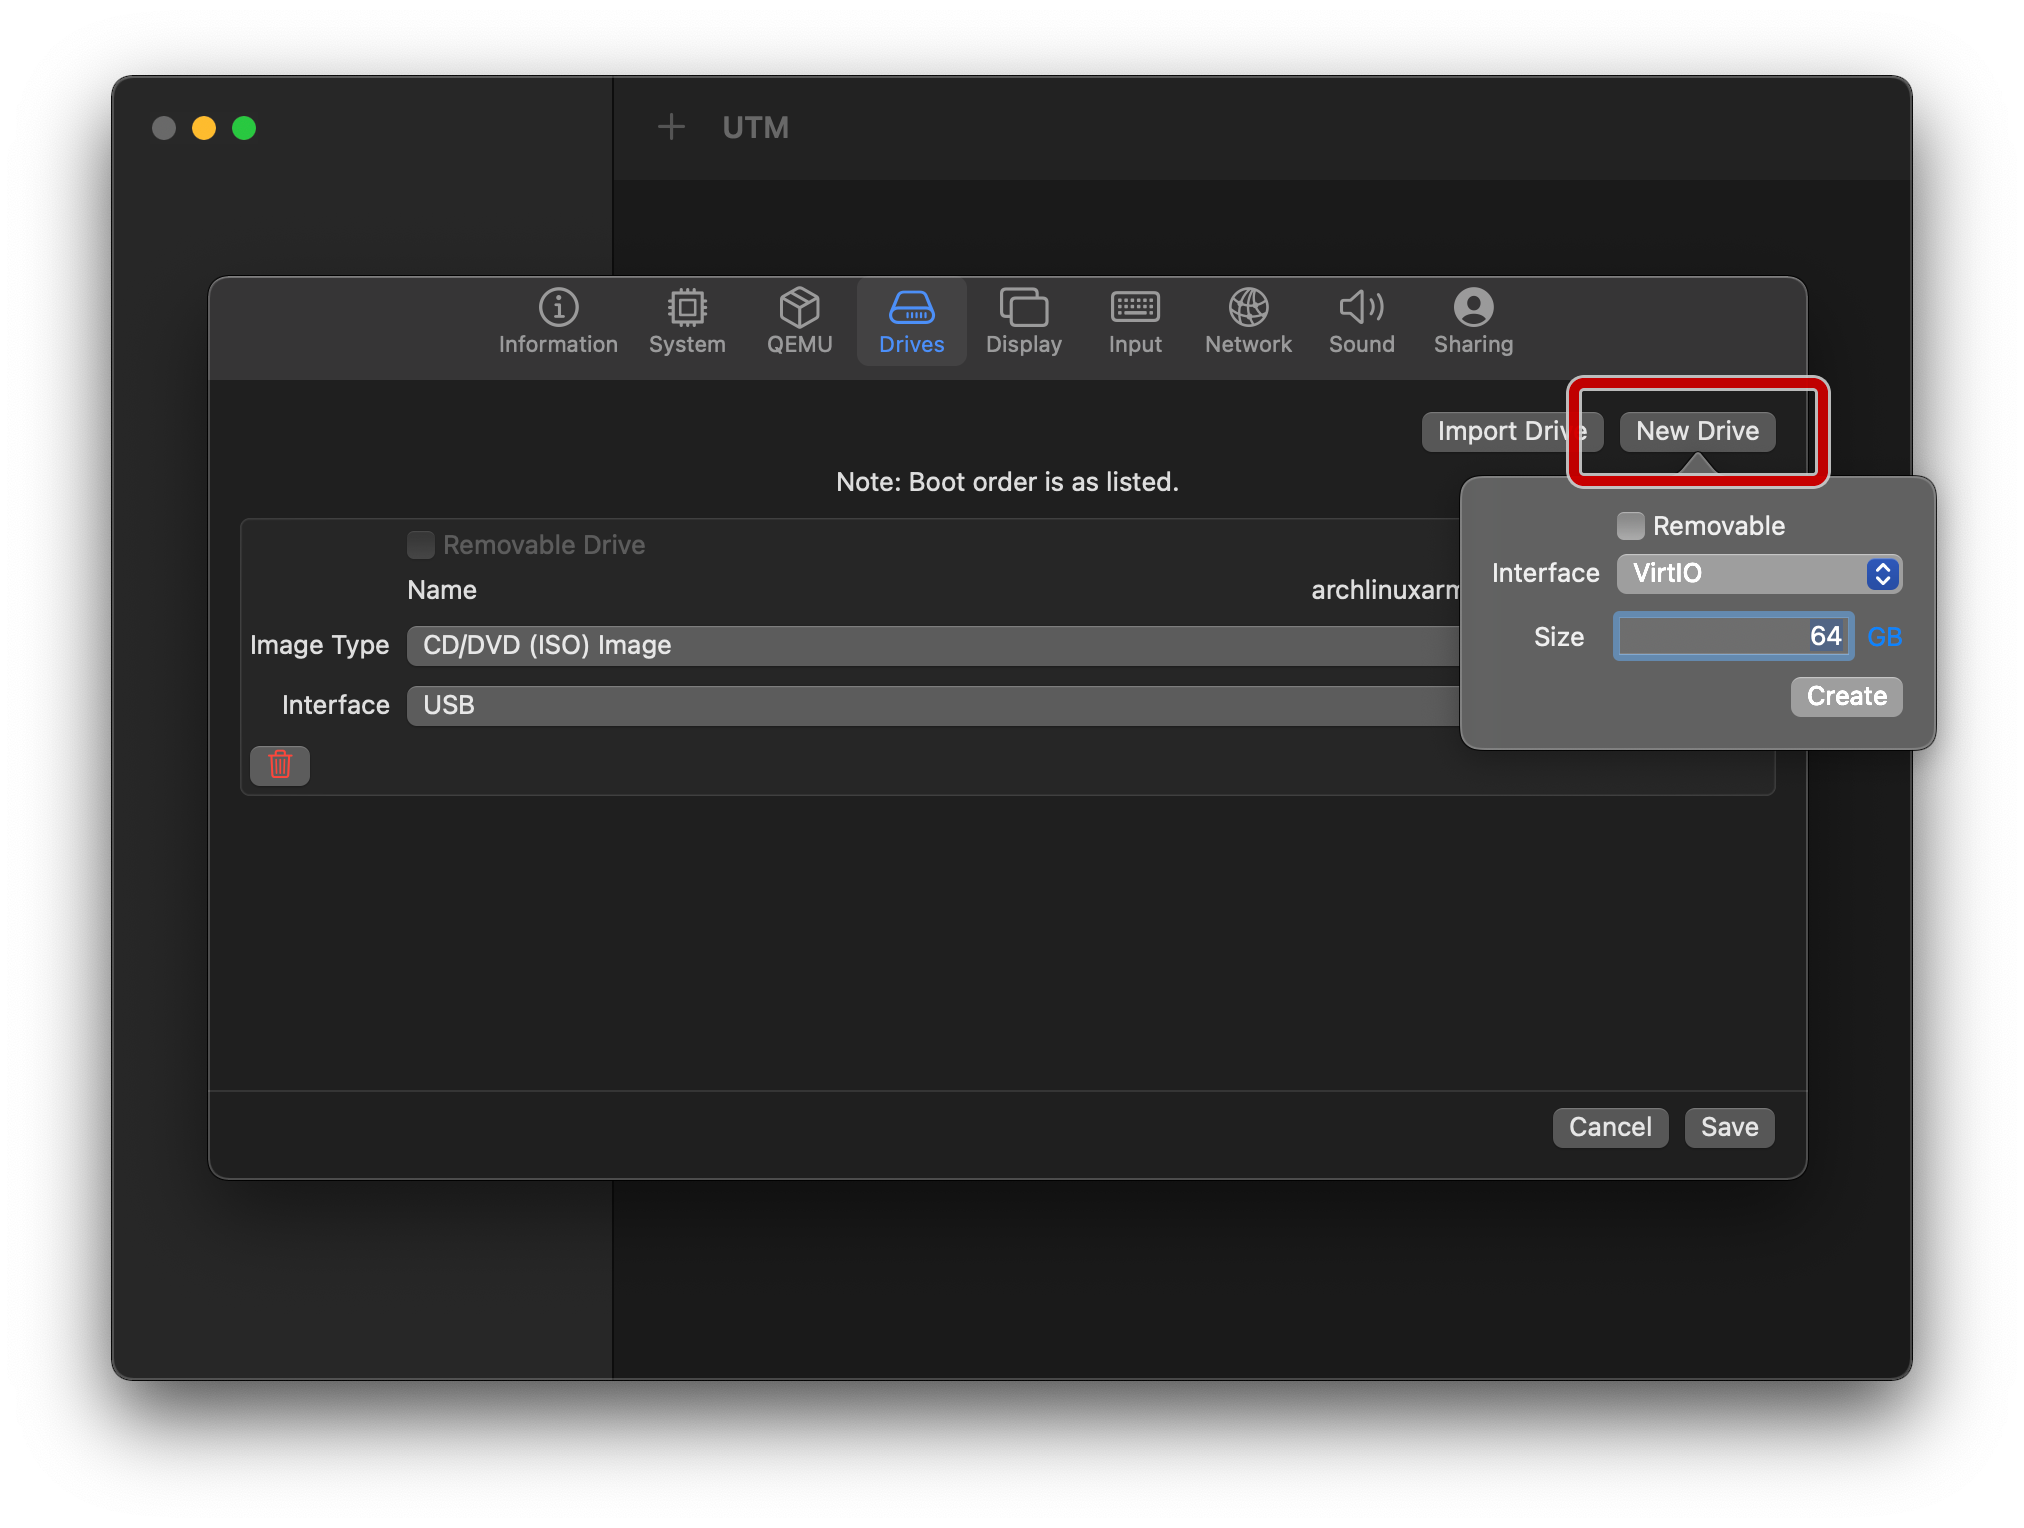
Still on the “Drives” tab, tap on “New Drive” and specify a sensible size for your main hard disk, keeping the interface as VirtIO:
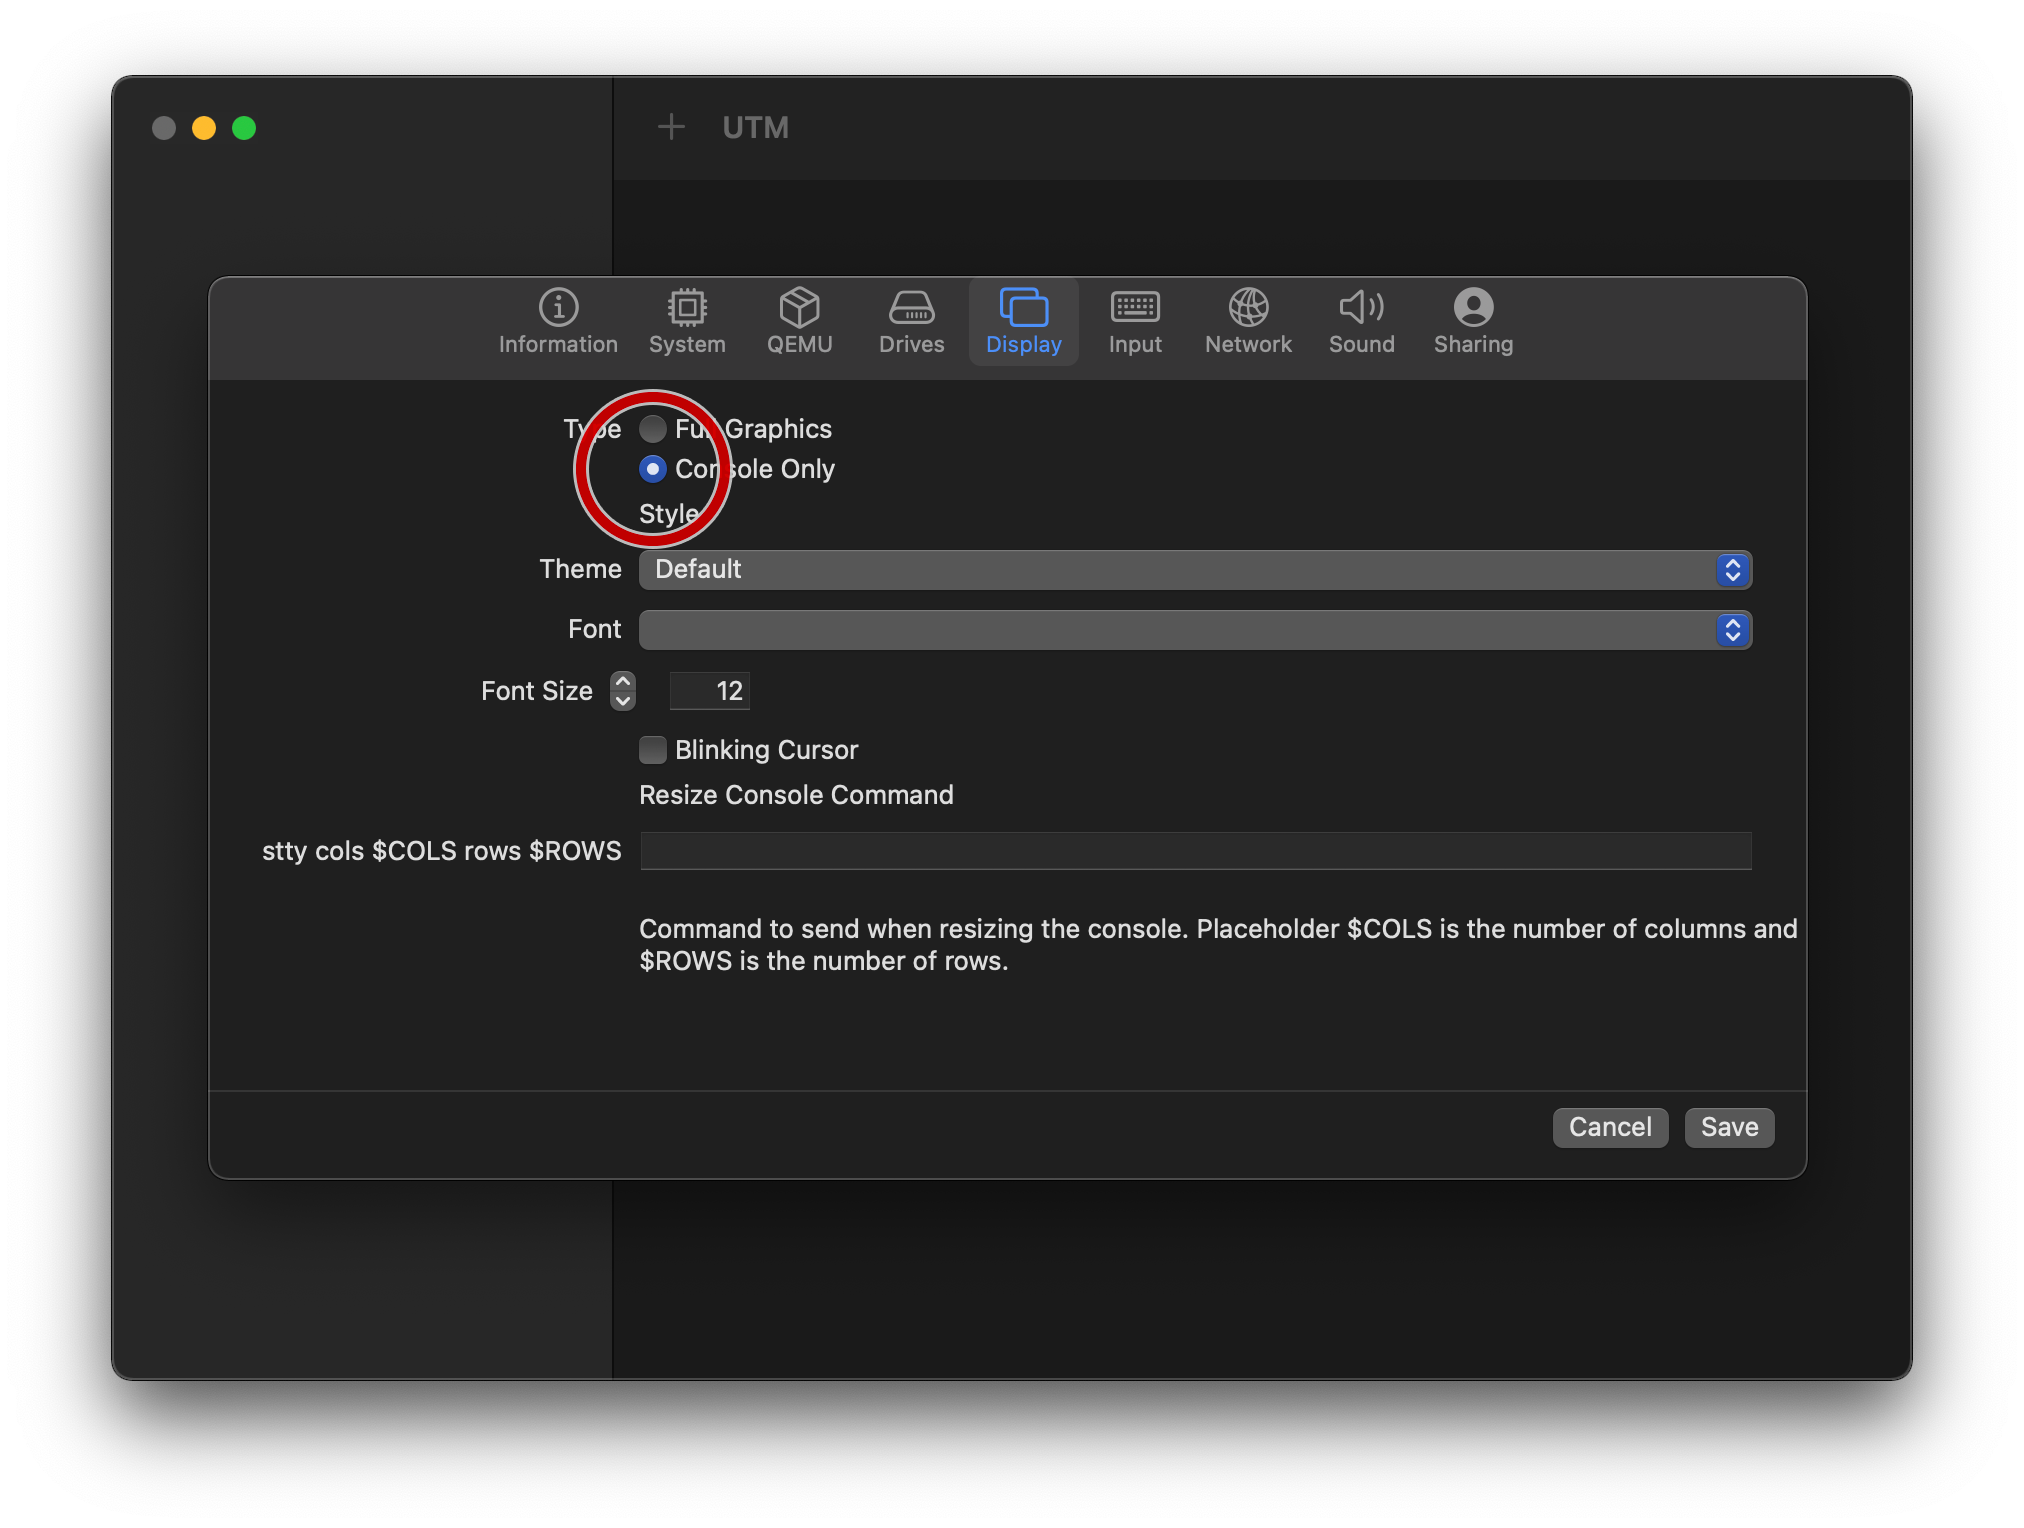
On the “Display” tab, move from “Full Graphics” to “Console Only”.
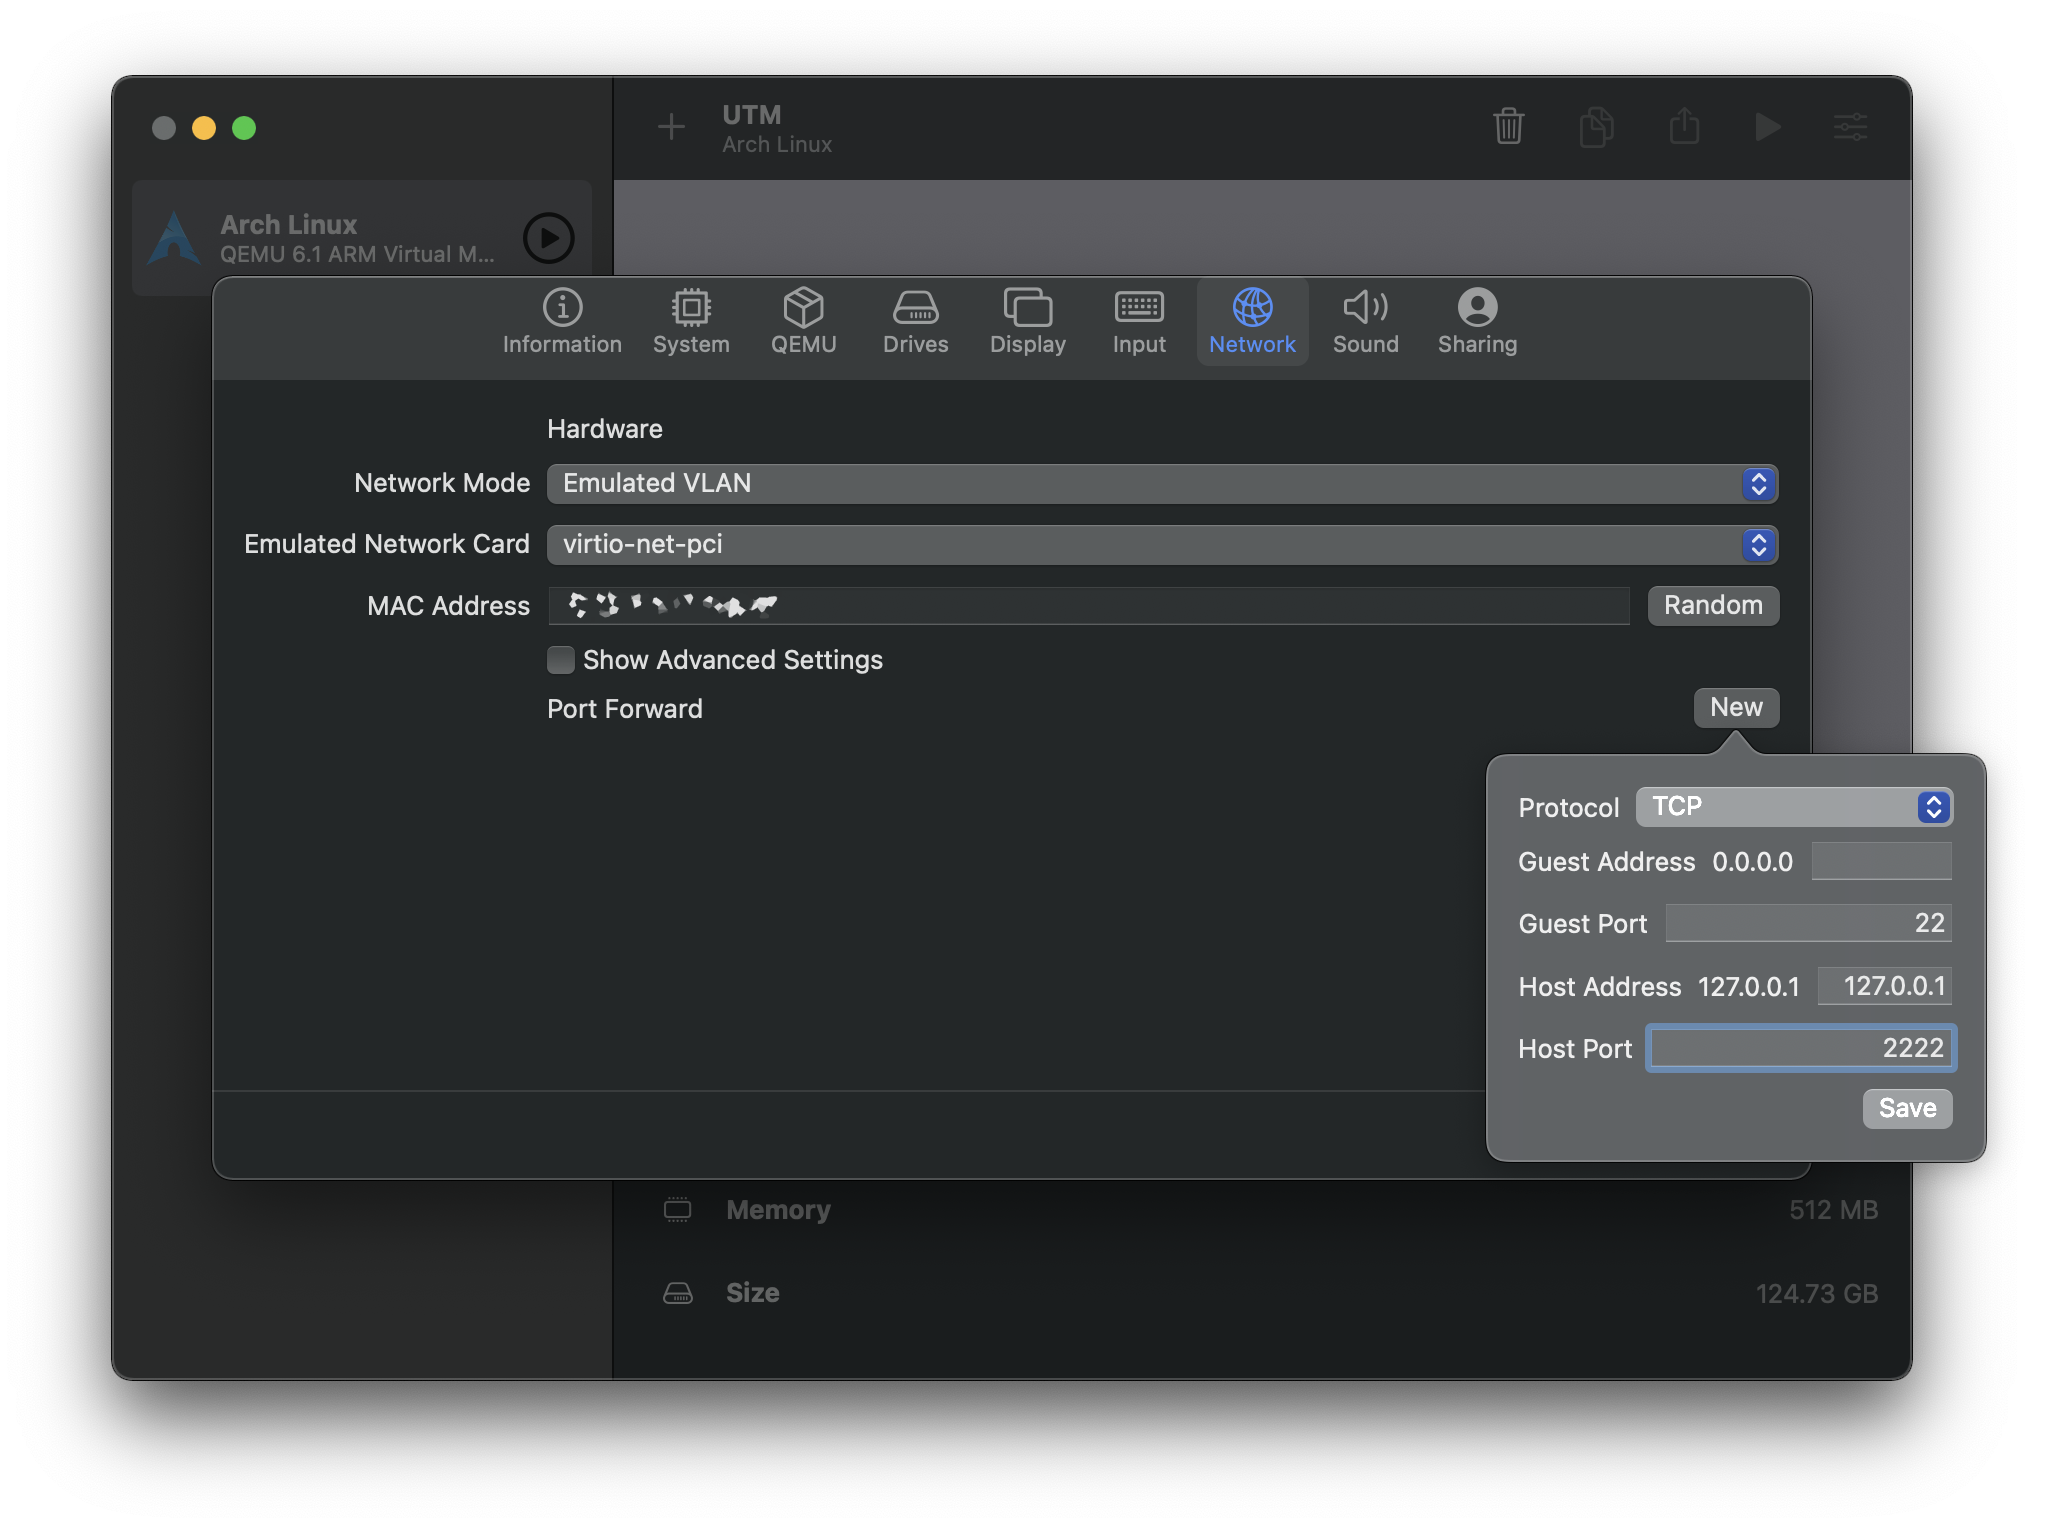
If you would like to be able to ssh into your VM: on the “Network” tab, ensure that “Emulated VLAN” is selected, then tap on “New” at the right side of “Port Forward”, and enter the following, and tap on “Save”:
Protocol: TCP
Guest Address: (leave blank)
Guest Port: 22
Host Address: 127.0.0.1
Host Port: 2222
On the “Sound” tab, uncheck “Enabled”:
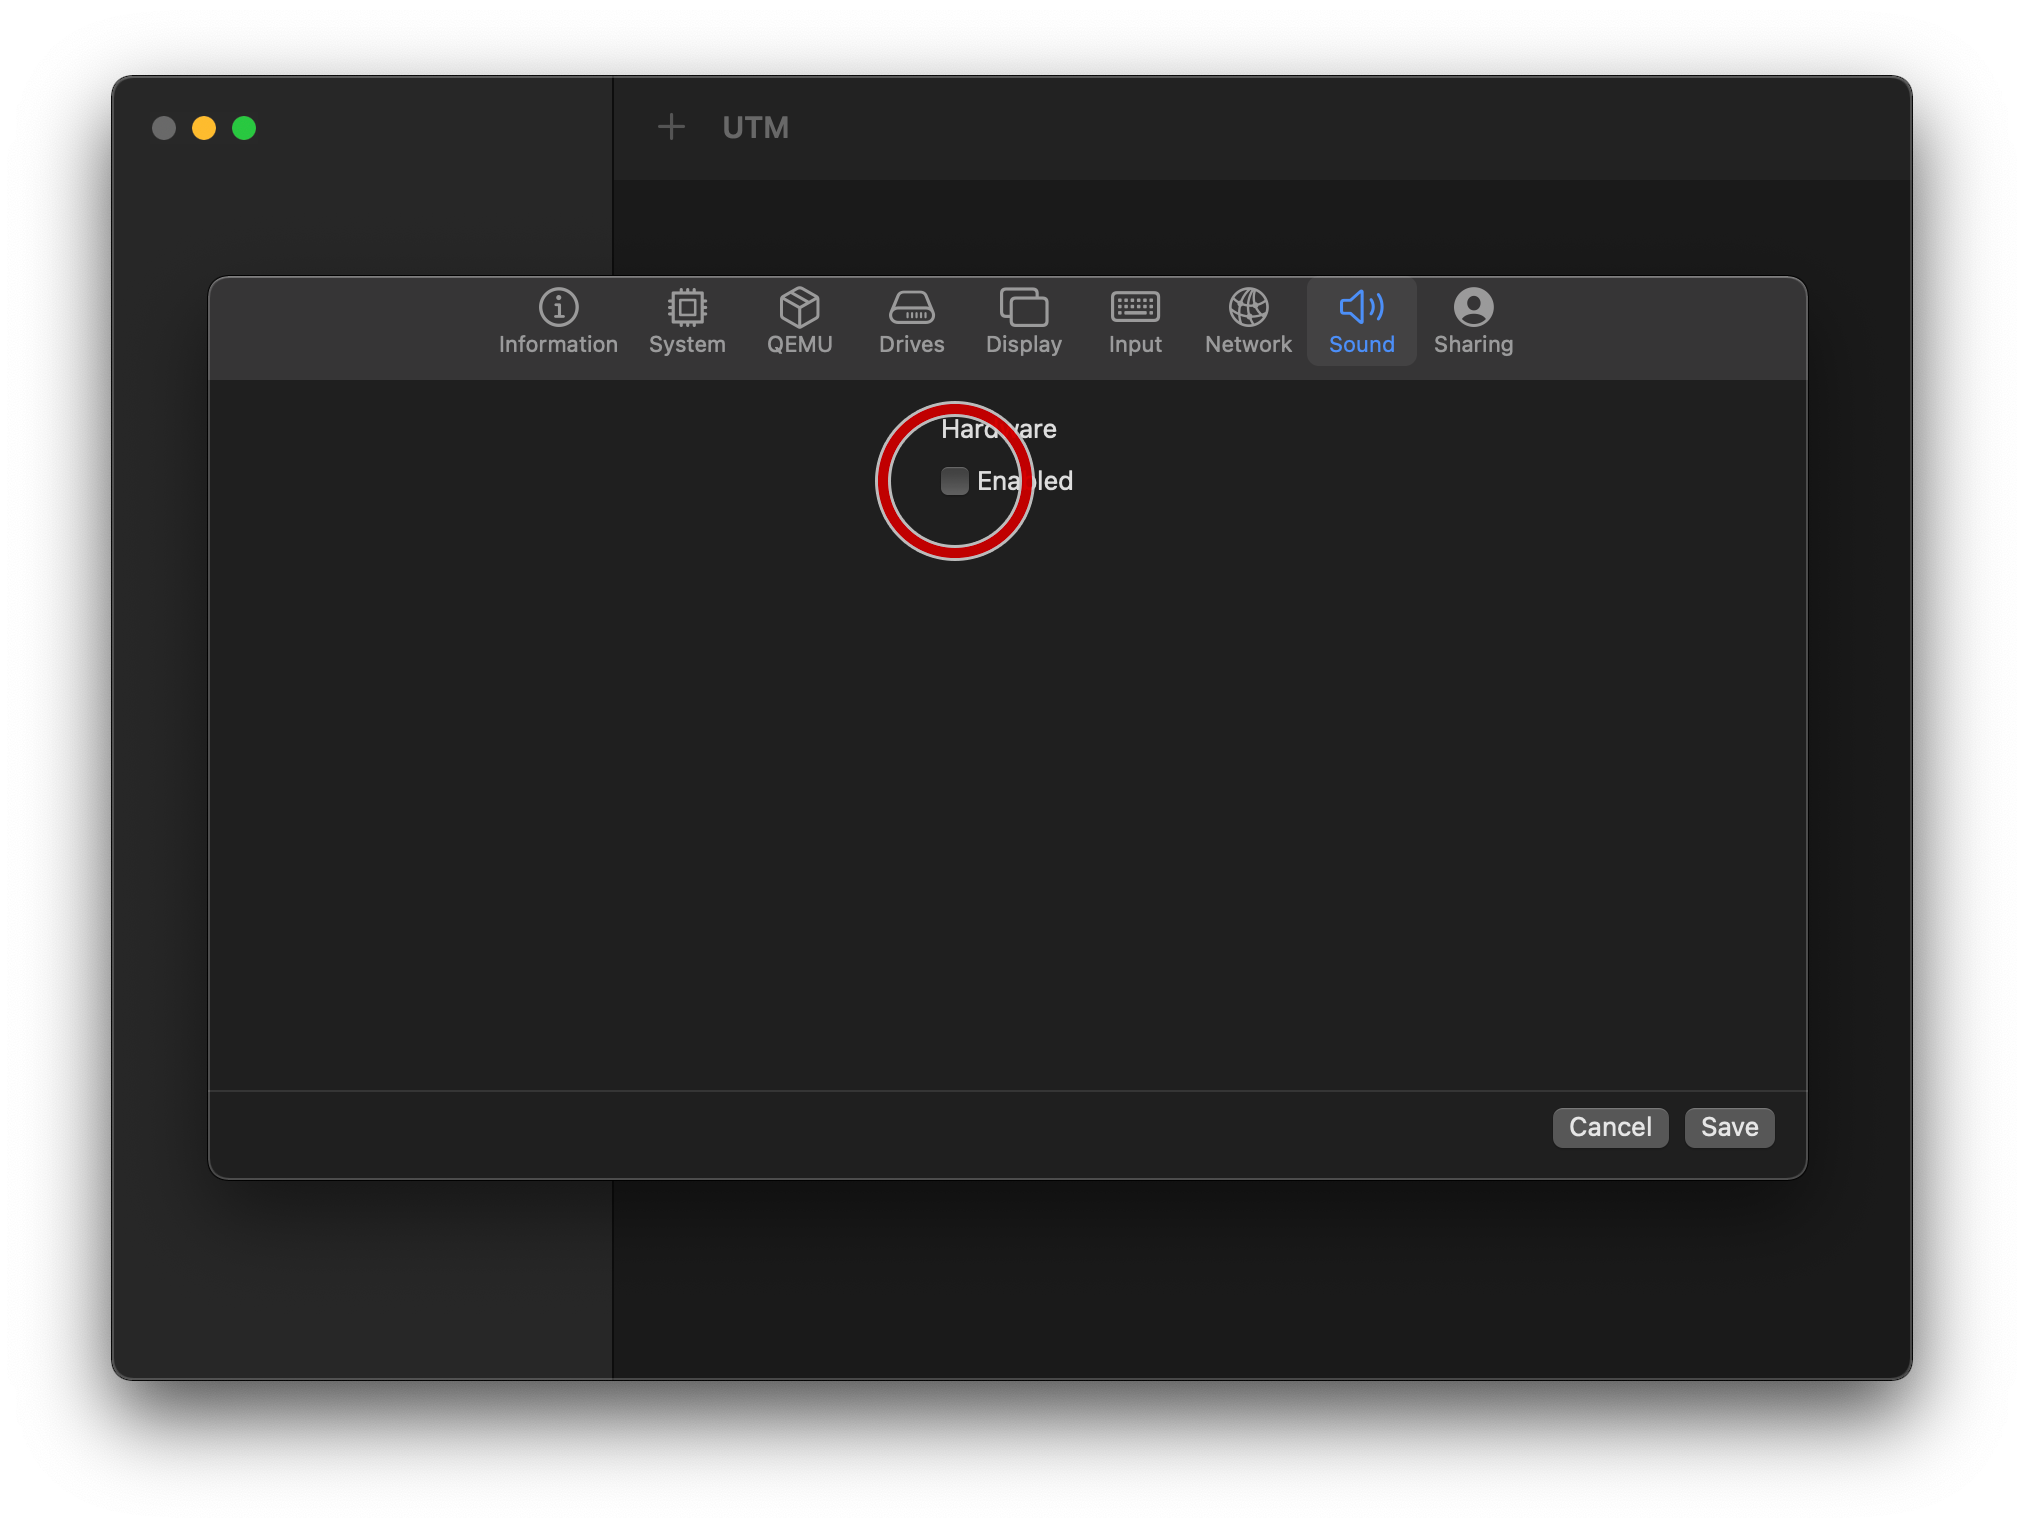
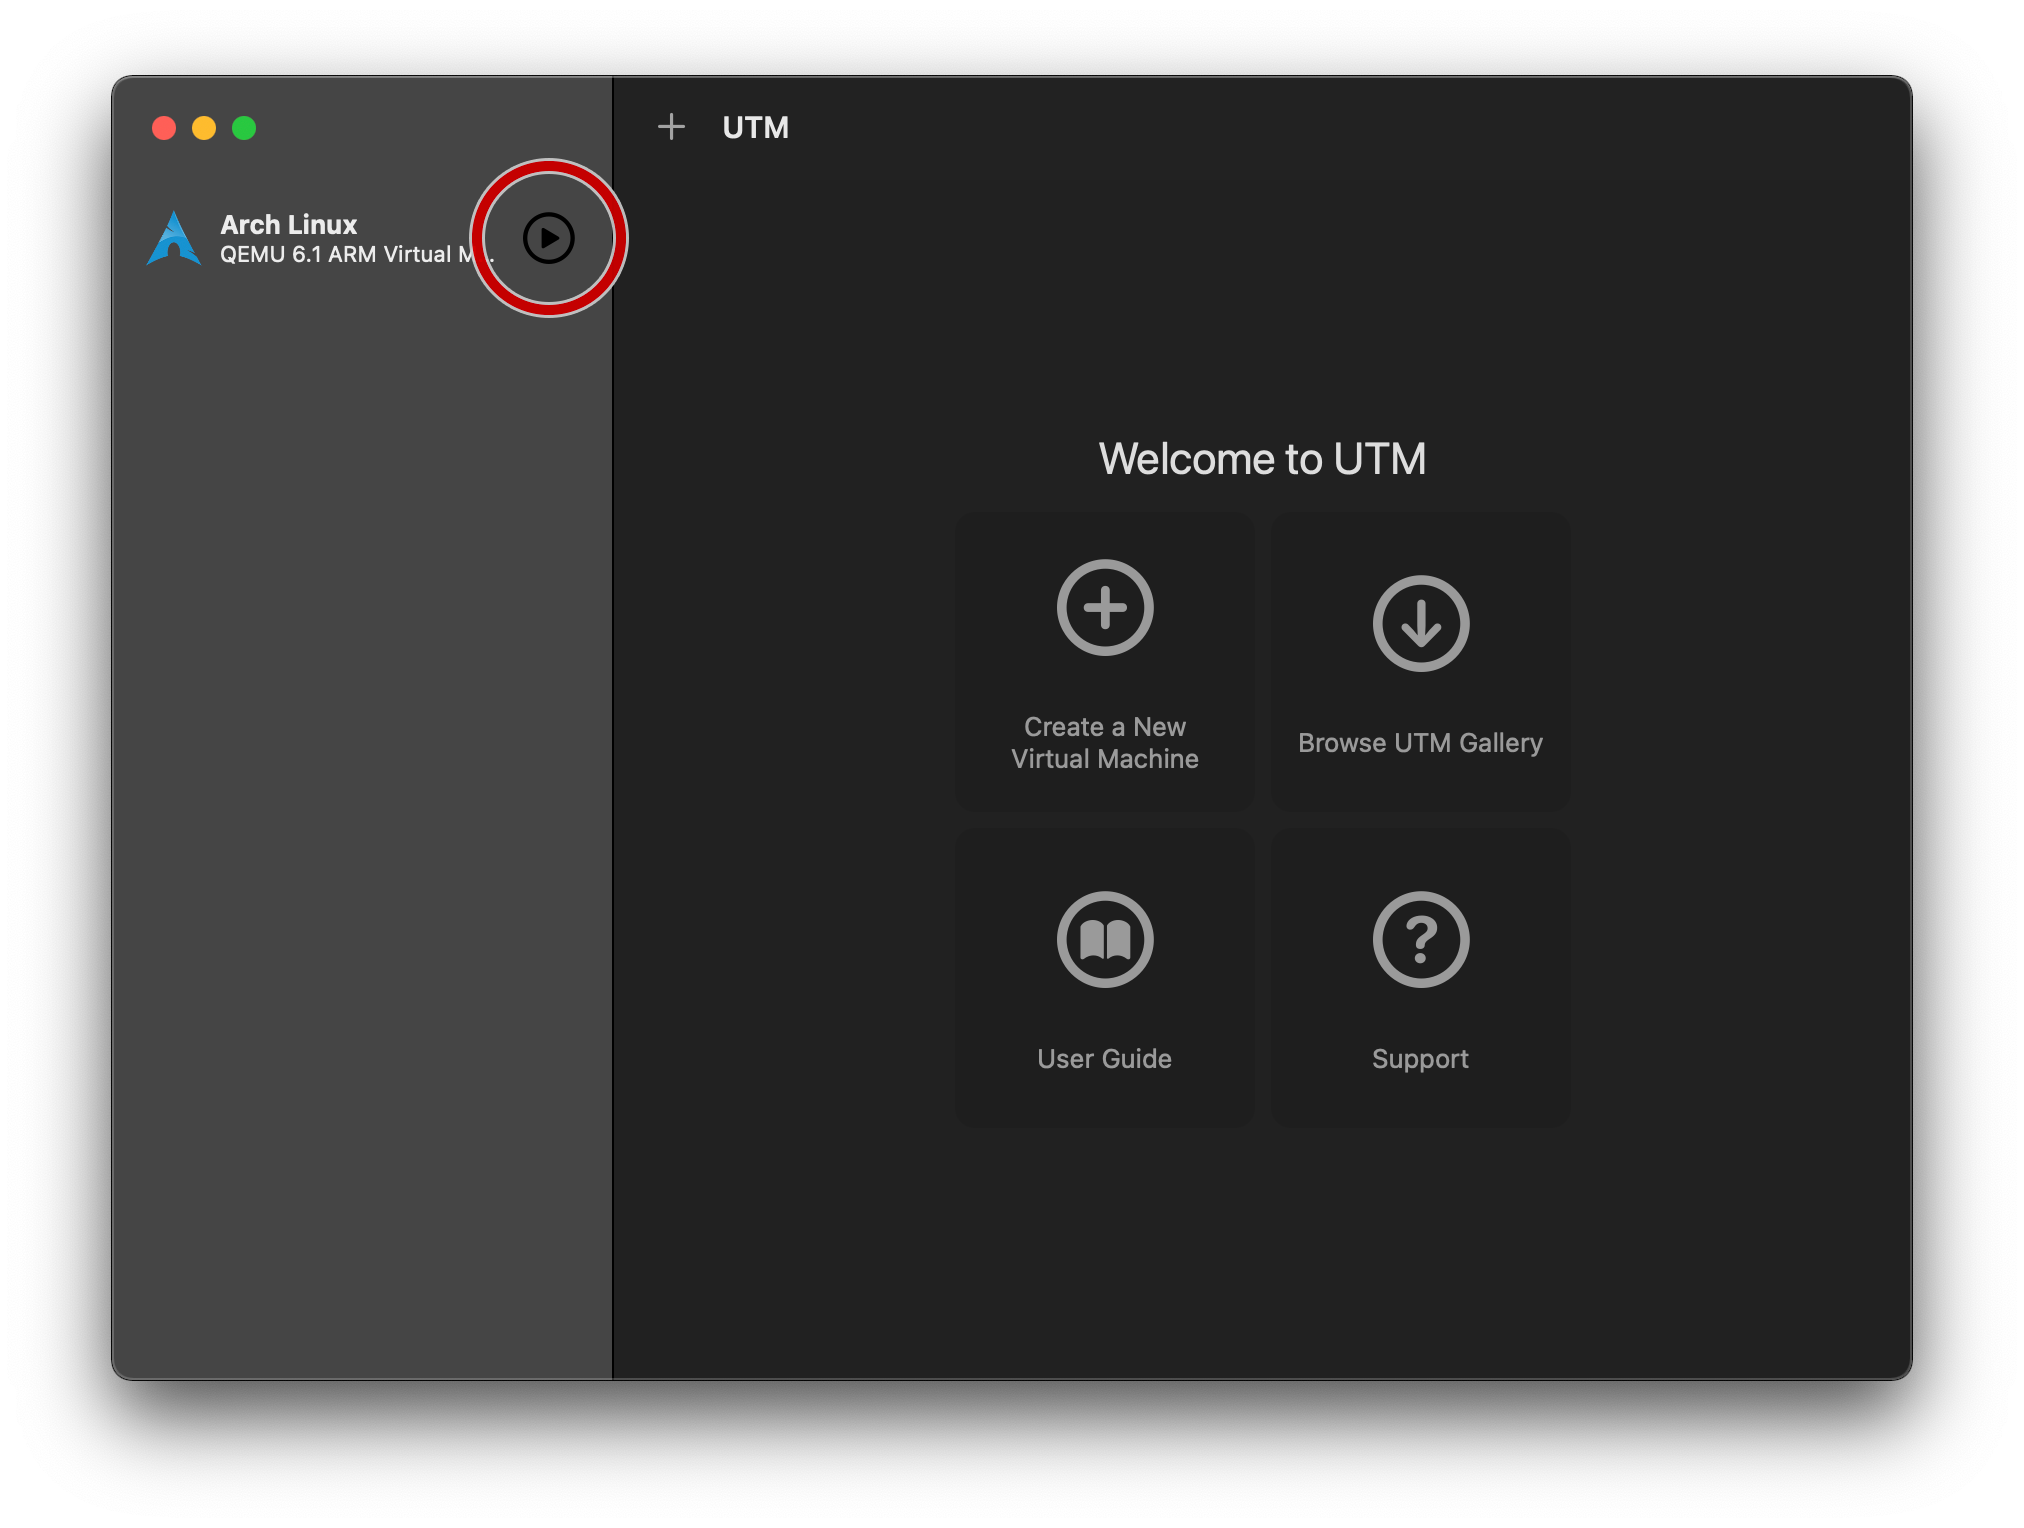
Tap “Save” to exit back to the main UTM screen, and press the ▶️ button to start the new VM you’ve just configured.
On-target configuration
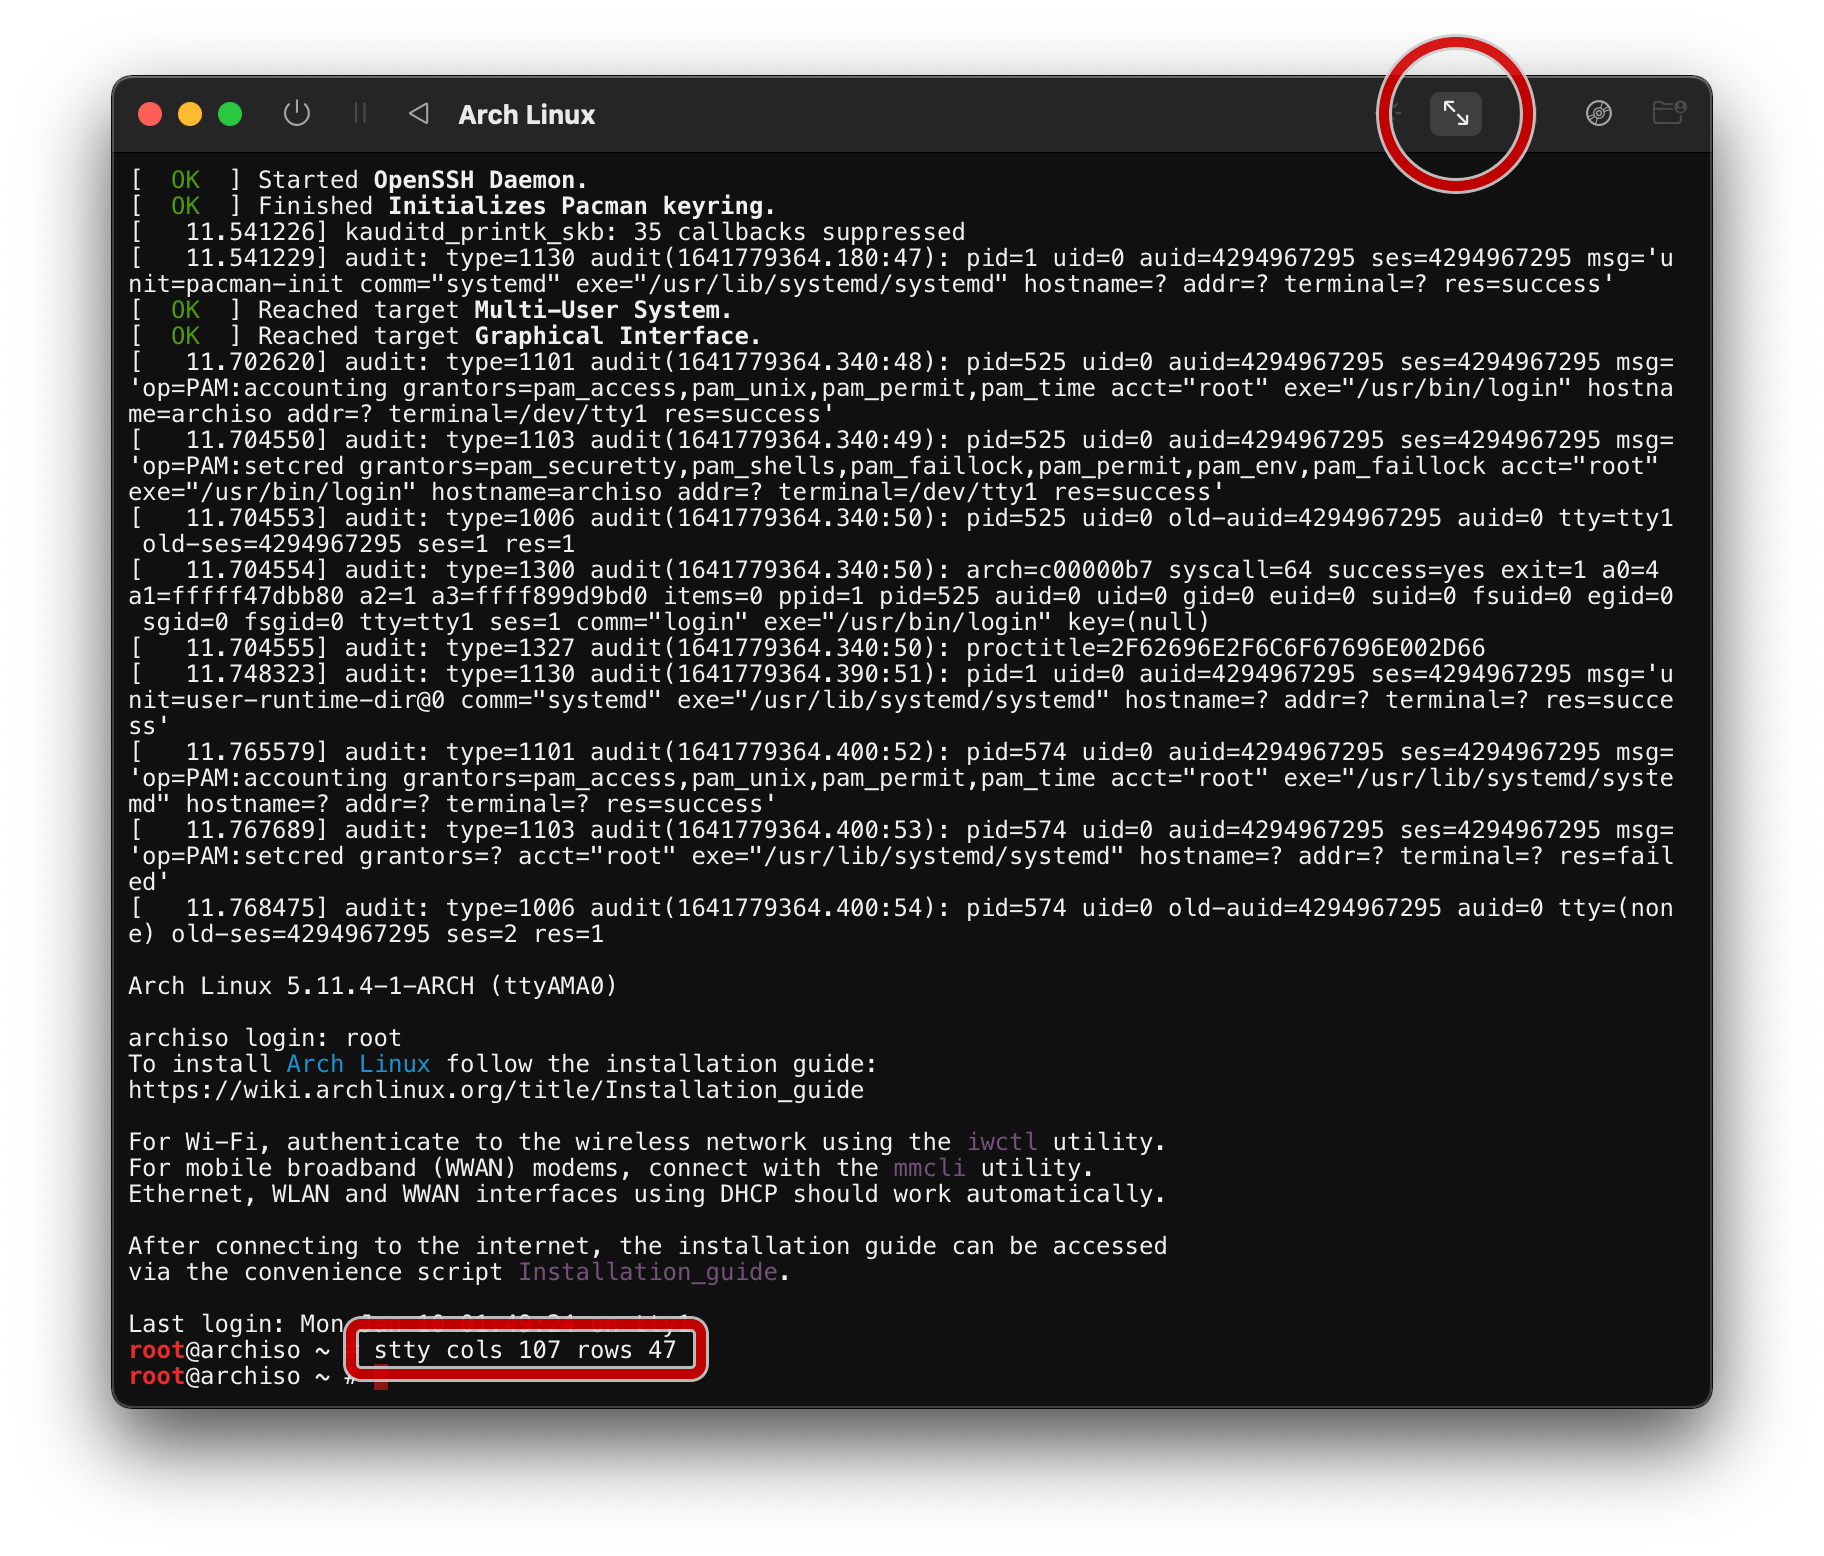
Log in with the user root, resize the console by pressing the button below,
and follow the Arch Installation
guide until the “Boot
loader” phase.
Note: the console window supports copy & paste
Here are some (optional) tips that I think are helpful for a new install:
- enable parallel
pacmandownloads pacstrapthese packages (includes the defaults):acpi base base-devel bind bwm-ng ctags docker fd flake8 fzf gdb git go htop inetutils iotop jq linux linux-firmware lsof man-db moreutils mtr ncdu neofetch nfs-utils nmap openssh pacman-contrib pass python python-jinja python-pip python-virtualenvwrapper python-yaml ripgrep rsync s3cmd sipcalc strace tcpdump tmux unzip vim whois yamllint zsh
Boot loader
Once at the “Boot loader” section, choose an appropriate
one and follow
its install steps. This guide opts for systemd-boot for simplicity.
Follow the systemd-boot installation
guide, up until the
“Loader configuration” section.
Specify a single Arch target by replacing /boot/loader/loader.conf with:
default arch.conf
timeout 0
console-mode auto
Get the root partition’s UUID by matching it against:
ls -la /dev/disk/by-uuid/
And define the Arch target by adding this into /boot/loader/entries/arch.conf:
title   Arch Linux
# note: not /vmlinuz-linux
linux   /Image
initrd  /initramfs-linux.img
options root="UUID=<UUID_FROM_EARLIER>" rw
Optional on-target configuration
Match user/group ids between host and guest operating systems
If you plan on using NFS shares to link the inside of your VM with your host OS, it’s advantageous to match uids and gids. Find out your host OS user’s uid and gid by typing the following in a terminal outside of UTM:
id | tr ' ' '\n'
You should see output similar to the below, showing a uid of 501 and a gid of 20:
uid=501(ahrex)
gid=20(staff)
...
We can match an existing group in the guest OS to the gid of staff. Since
there is no staff group in Arch, we’ll substitute with users instead. Run
the following in the UTM console window:
groupmod --gid 20 users
Non-root user
It’s generally not recommended to use the root account for day-to-day
operations. Create a non-root user by running the following, replacing
<USERNAME> as appropriate:
useradd --gid users --groups wheel --create-home --shell /bin/zsh --uid 501 <USERNAME>
The uid of 501 should match what was found in the previous section. Feel free
to omit other parts as needed.
We can also grant the wheel group sudo access by running visudo and
uncommenting the following line:
# %wheel ALL=(ALL) NOPASSWD: ALL
This allows us to have a non-administrator user for general operations, while giving us the ability to escalate to the root user as needed.
The NOPASSWD argument is useful if you don’t set a password on your day to day
user, since there will be no way to enter a correct password when one is not
set.
Automatic console login
If you opt to not store a password for your user, you’ll either need to ssh in
using an authorized_key entry, or log in passwordless via getty. To enable
passwordless console
login, run the following
commands, replacing <USERNAME> as appropriate:
mkdir /etc/systemd/system/serial-getty\@ttyAMA0.service.d
echo '[Service]' > /etc/systemd/system/serial-getty\@ttyAMA0.service.d/autologin.conf
echo 'ExecStart=' >> /etc/systemd/system/serial-getty\@ttyAMA0.service.d/autologin.conf
echo 'ExecStart=-/usr/bin/agetty --autologin <USERNAME> -s %I 115200,38400,9600 vt102' >> /etc/systemd/system/serial-getty\@ttyAMA0.service.d/autologin.conf
DHCP networking using systemd-networkd
Get the default route by noting what comes after dev in this command:
ip route get 1.1.1.1
It should be of the form enpXs*. Create a network config similar to the Arch
guide
by writing the following to /etc/systemd/network/20-wired.network:
[Match]
Name=enpXs*

[Network]
DHCP=yes
And enabling systemd-networkd:
systemctl enable systemd-networkd.service
Default DNS resolvers
To use the resolvers provided by UTM, enable systemd-resolved and have your
local resolv.conf point to the one generated by systemd-resolved:
systemctl enable systemd-resolved.service
ln -sf /run/systemd/resolve/resolv.conf /etc/resolv.conf
SSH server
While the console window is pretty functional, sometimes you want to be able to
ssh in, or scp files around. Enable sshd by running:
systemctl enable sshd.service
Testing it all out
Exit the installation by leaving the chroot an unmounting our install disk:
exit
umount -R /mnt
And shut down the VM:
shutdown -h now
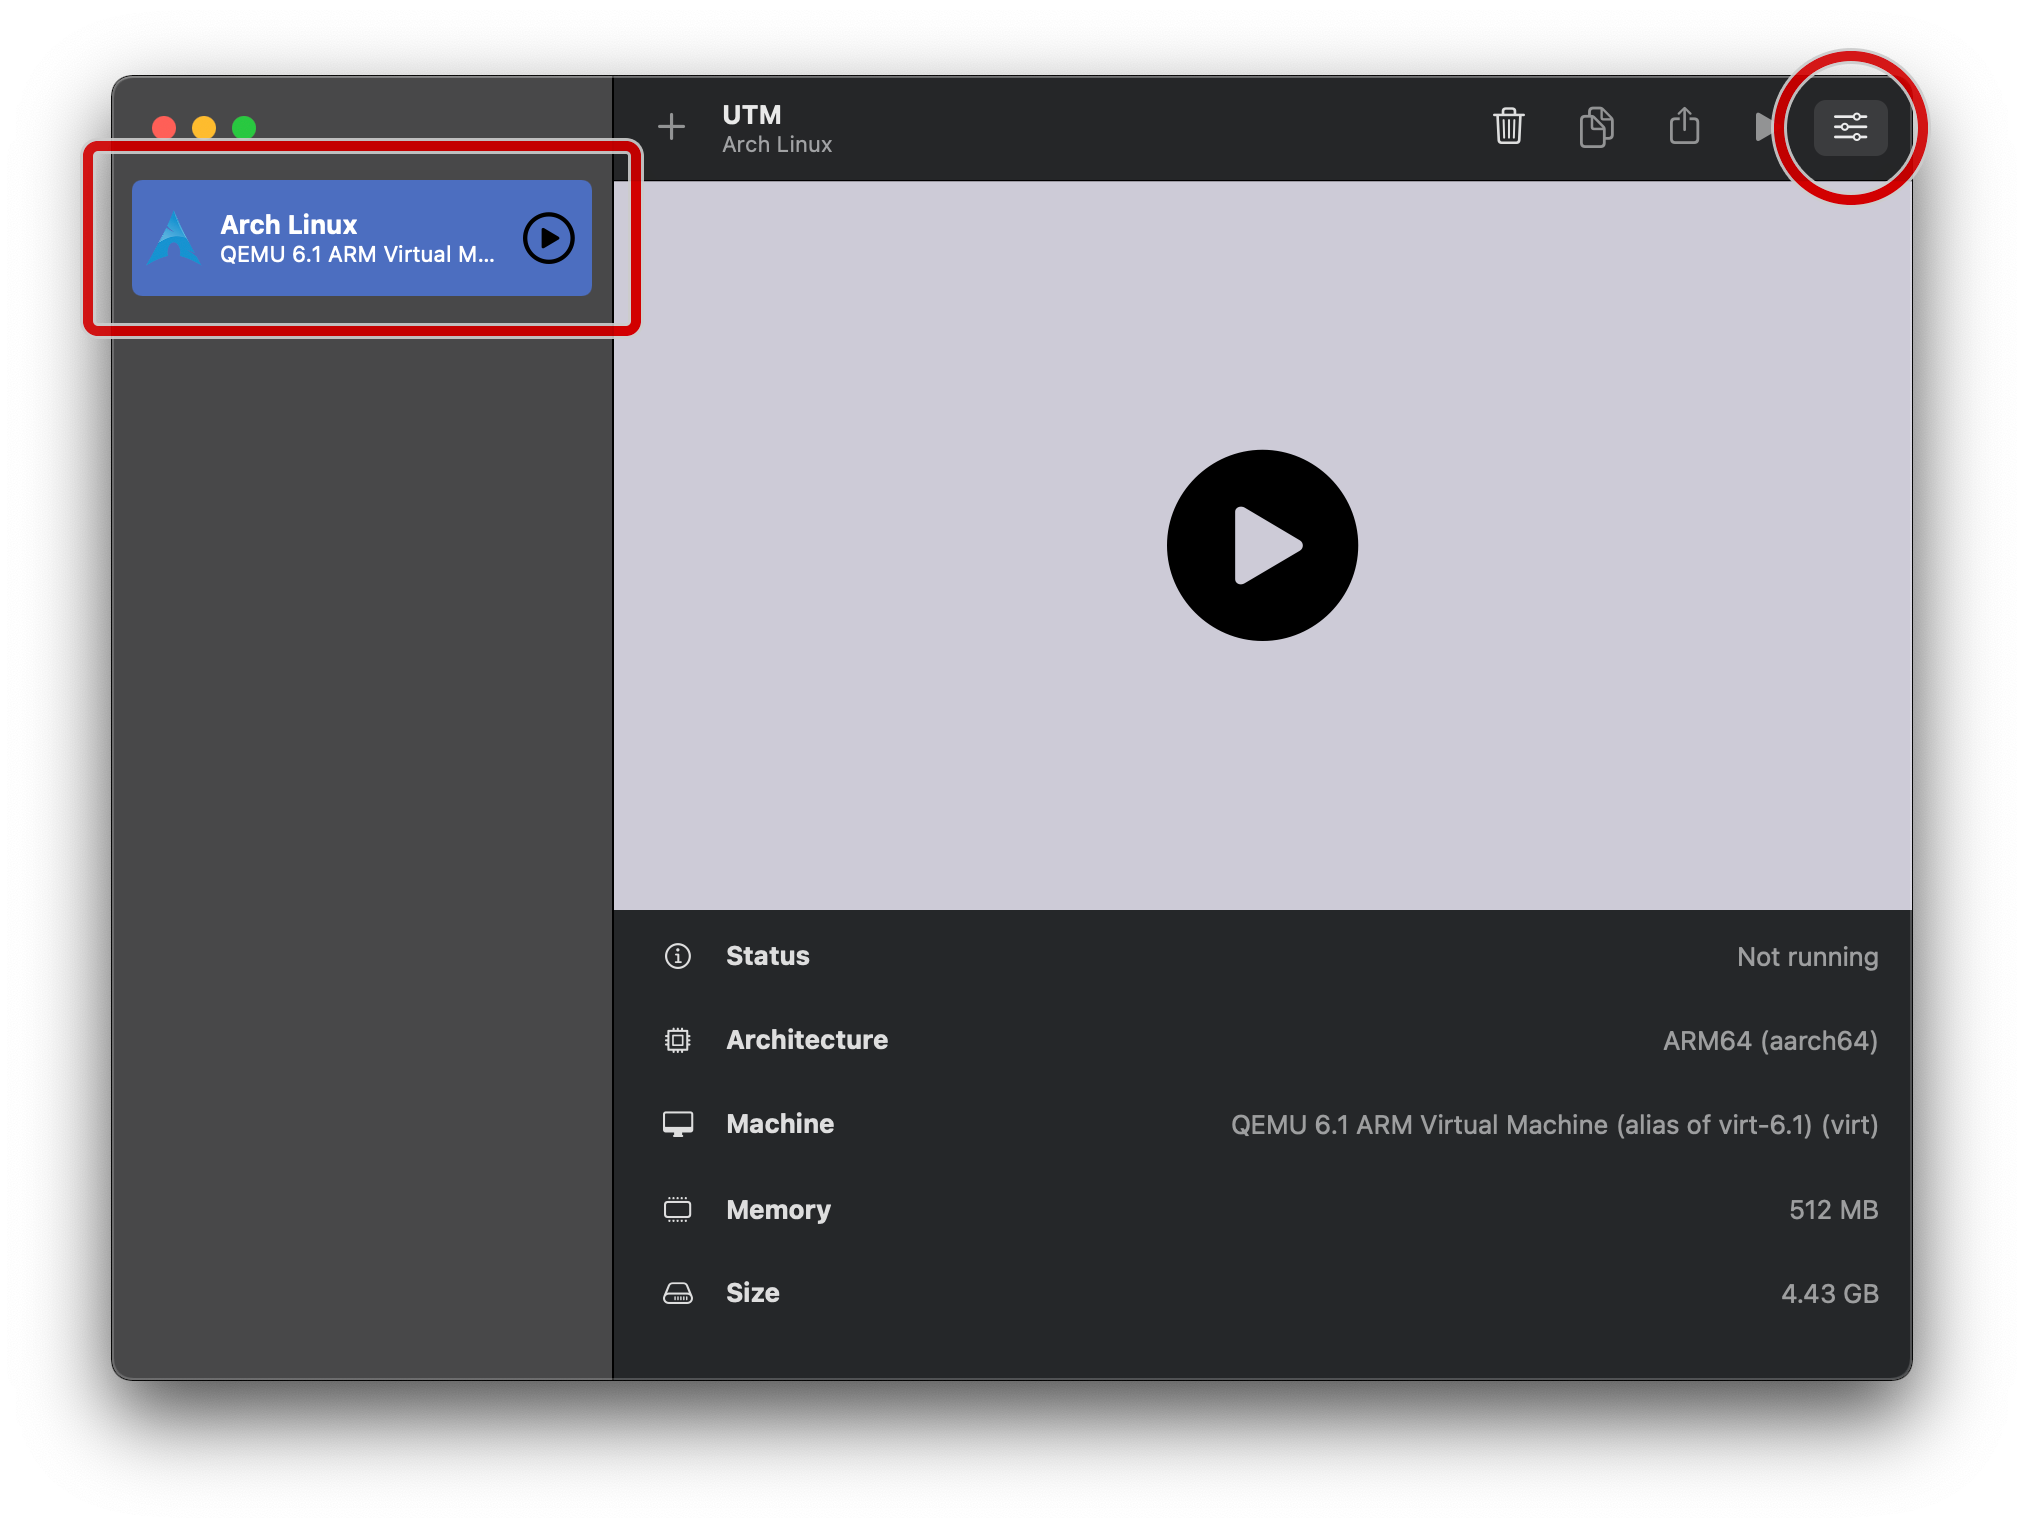
In the main UTM window, tap on your newly-created VM, and then tap on the “Edit selected VM” button:
On the “Drives” tab, delete the install ISO:
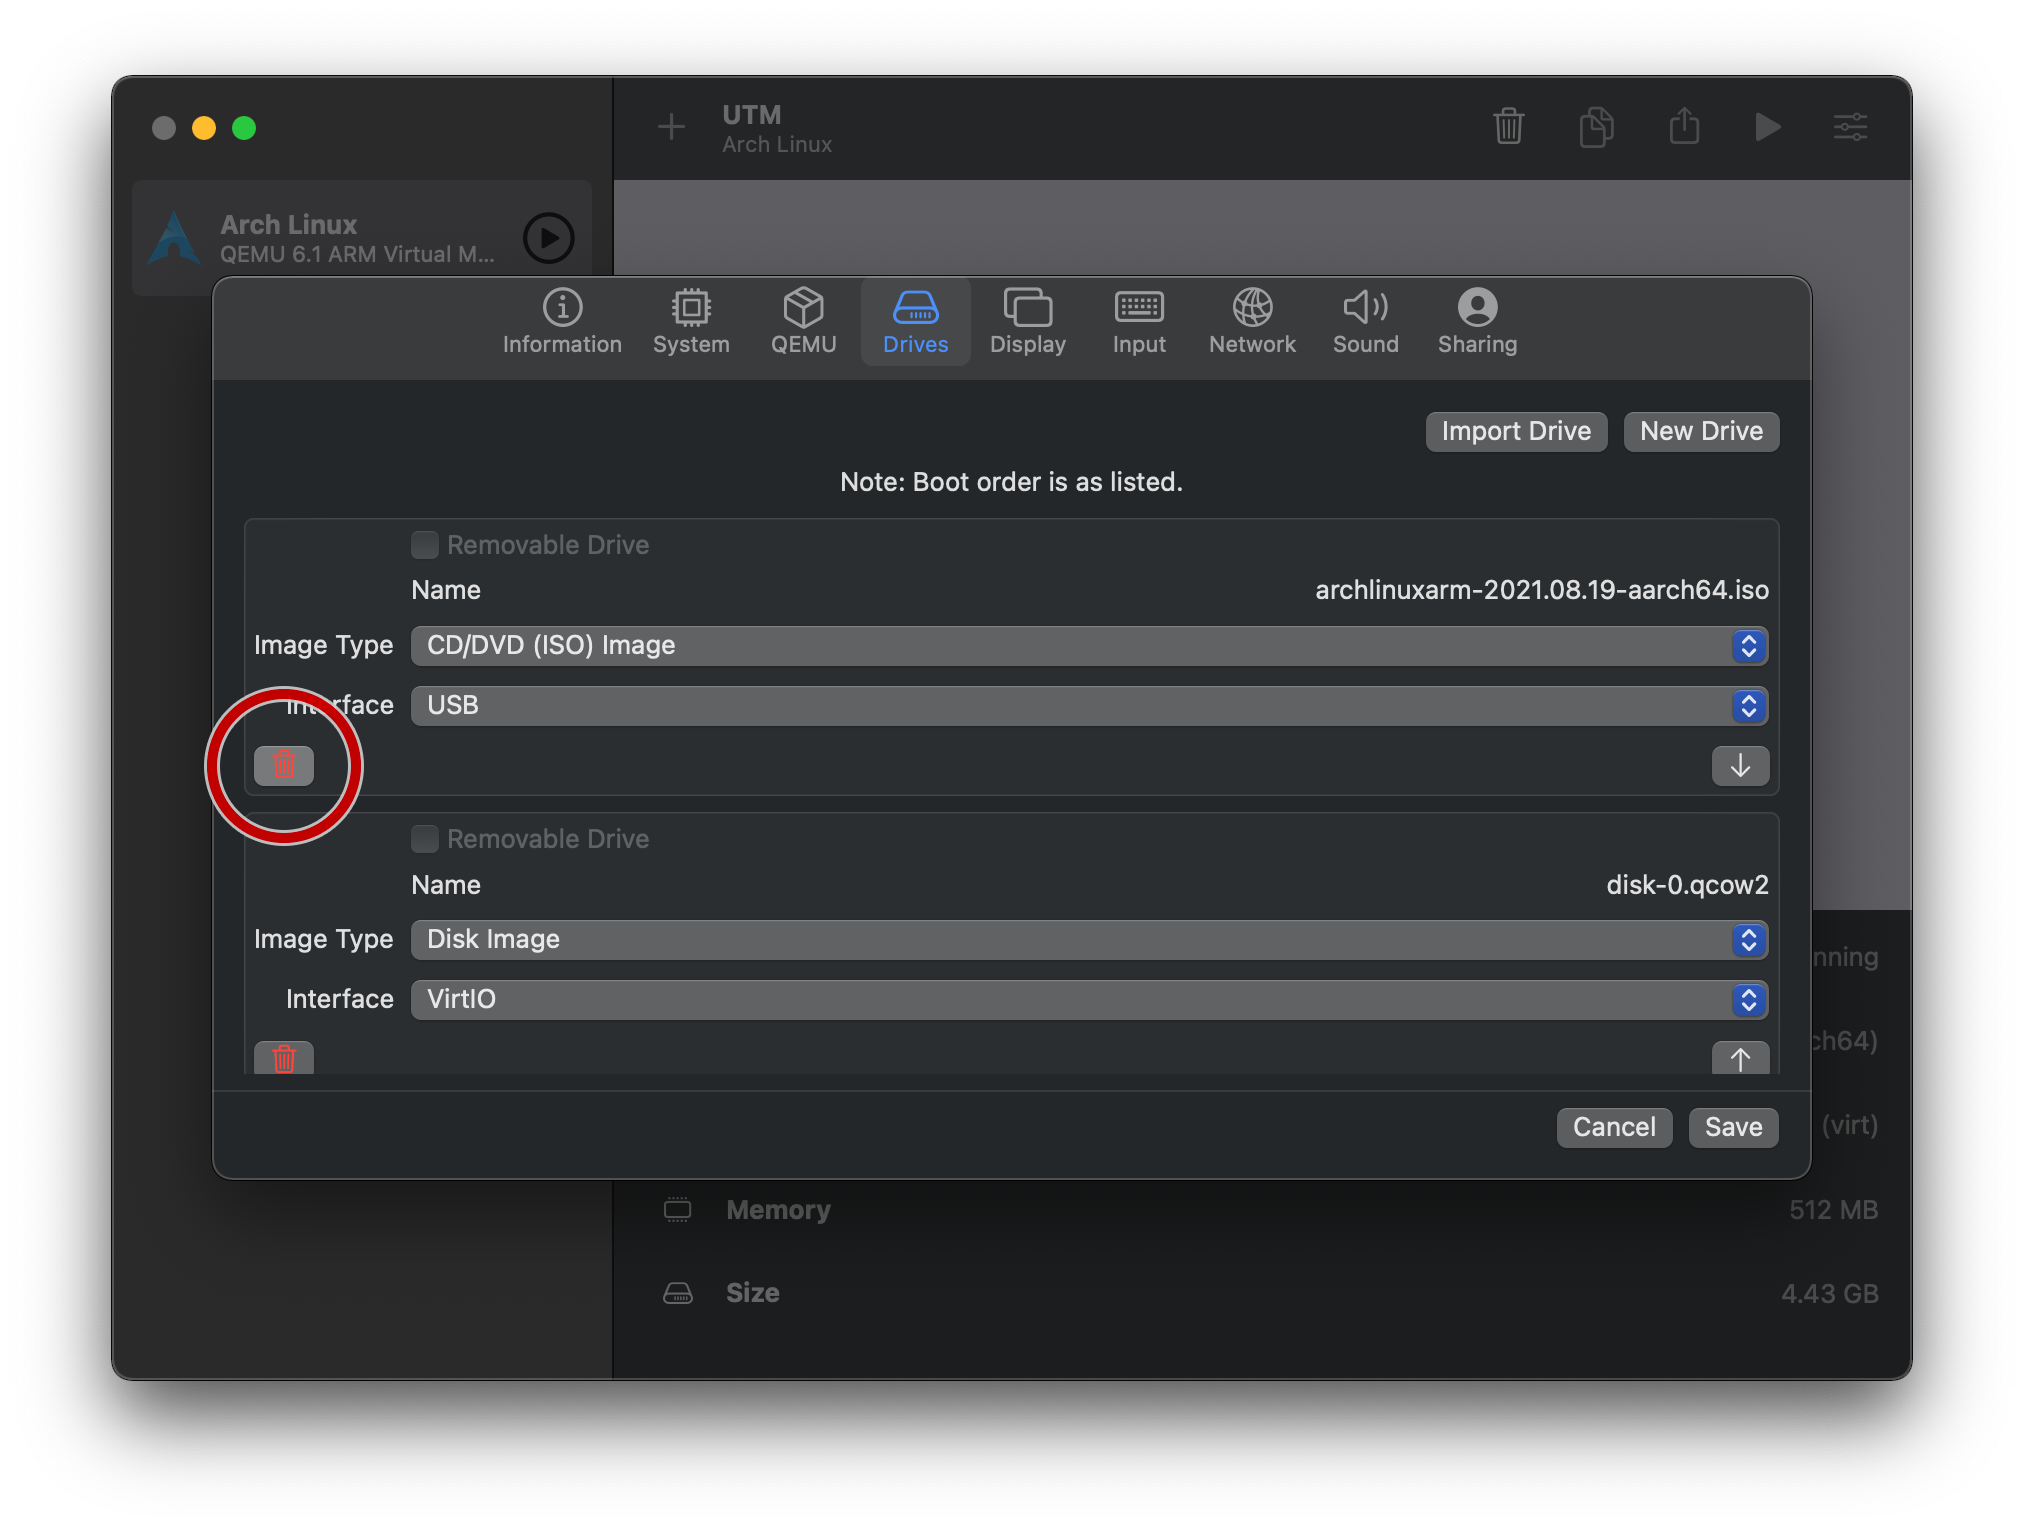
Save, and try running the guest OS in mission mode!
Final touches
You’ll probably want to add your ssh pubkeys, as well as figure out a static IP scenario for the guest VM.